|

|
|
|
 |
Archipelis mini-tutorials....
Using
theClipboard
to Load an Image
|
|
|
|
The whole philosophy of
Archipelis Designer has always been to make 3D models - fast. Very
fast. So it's not surprising that even the mere process of
loading a starting image as a background is a task which it wants to
help you get done with as fast as possible. For example, if you are
looking at a picture from your digital camera in your image viewing
software, or you're smiling at photos of your highschool sweetheart's
30-year class reunion on a website, what's the fastest way to get such
image into Archipelis Designer?
Well, through the Clipboard, of course, because in this hectic world,
who's got time to save files?
|
|
|
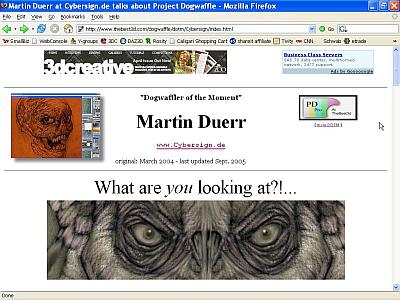
Take for example a look at one
of the Dogwafflers of the Moment, such as Martin Duerr, presented at www.thebest3d.com/dogwaffle/dotm/Cybersign
|
|
|
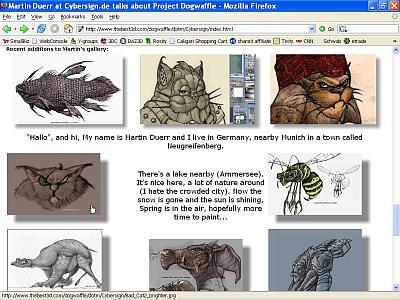
Scroll down to look for a good
portrait, side or frontal. Click the mad cat for example.
|
|
|
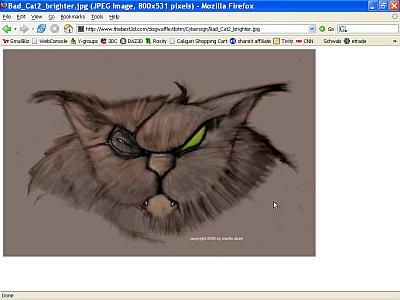
Ok, here's the image in all its
glory. Don't worry about it not being centered. We can adjust the
position a little in Archipelis Designer, and besides, let's not forget
that this is fun, not rocket science. 'Precision' is not part of our
vocabulary here.
Don't forget: hit the PrintScreen
key on your keyboard at this time. This will capture the screen into
the Clipboard. Or use ALT-PrintScreen if you only want the
selected window to get copied.
|
|
|
Switch over to a new session or Archipelis Designer. Set the
Appearance to "Textured", in
the mid-right area. The default style might be cartoon.
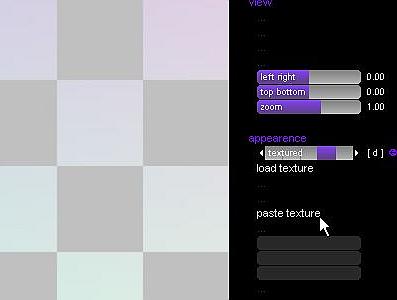
then click " Paste Texture" to
force the image from the Clipboard into the program.
|
|
|
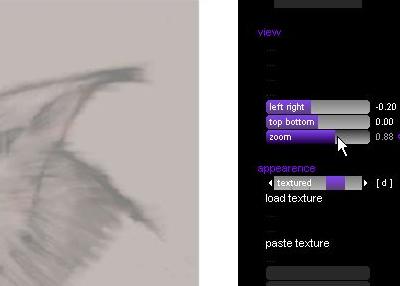
You may want
to adjust the zoom, left/right and top/bottom sliders to fine-tune the
position and size of the loaded image.
|
|
|
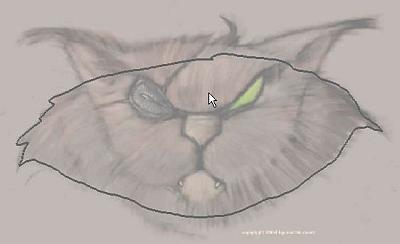
Read... Set... Trace!!
|
|
|
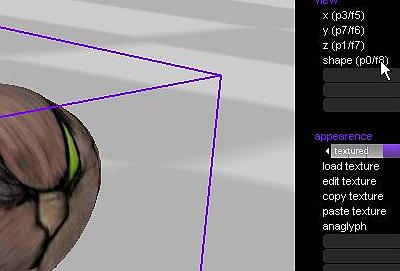
You can
inspect the traced object as it turns into a 3D shape, using the
right-mouse to drag and orbit. To re-align the view with the original
direction view axis, click the "Shape"
option - it will align along the viewing axis that was used during the
creation of the currently selected shape.
This is particularly useful when you draw multiple parts from
different angles, perhaps not using a backdrop image as reference, or
using different parts in the image which show the same object as
seen
from different angles, such as a front, side and top view.
|
|
|
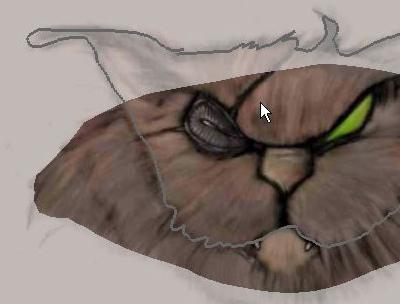
Trace-draw
the various parts. You can use the Translation and Size control sliders
along the left side of the view to position the selected object
relative to others.
|
|
|
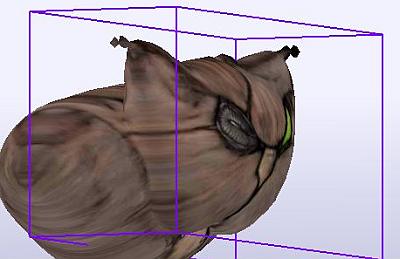
Here's a
rotated side view with the traced head moved forward and more scaled to
make it more thin.
|
|
|
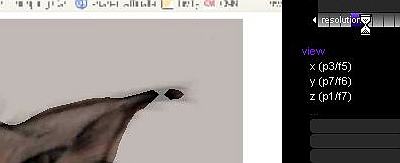
When you're
done tracing the several desired objects, including the eye patch and
nose, you can change the desired Resolution. This changes the density
of the subdivision surface mesh.
|
|
|
When all is
done, use "Save As" to save the
file to a native .archipelis file. Then also export the mesh to .obj format,
which includes the vertex texture mapping addresses.
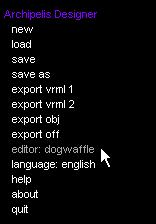
Or, if you're not done yet, perhaps you'll want to change the
appearance of the cat, such as its color, by editing the texture. To
that effect, Archipelis Designer lets you select your favorite image
editor. By default, mspaint is used. Click that entry in the main menu
to the left side (next to the export formats), and pick your alternate
viewer. For example, Project
Dogwaffle. Find the executable, dogwaffle.exe, in the installation
folder of PD Pro.
|
|
|
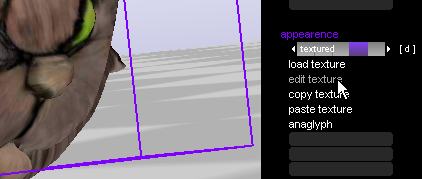
You
can then simply click "Edit Texture"
in the lower-right area's menu. Archipelis Designer then minimizes
itself, and launches the image editor, opening the current image. Note
that a new instance of the image editor is launched.
|
|
|
Inside
Dogwaffle, or whichever image editor or paint program you prefer to
use, simply paint over the existing image to change it as desired.
Here's an example with flowers added and long shiny hair using the
particle brushes.
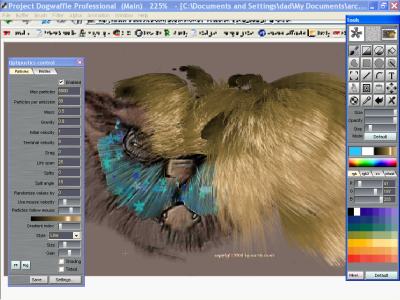
When you're done, save the image to Jpeg from the File>Save menu, then close (Quit)
the program. Archipelis Designer will then return and continue by
applying the newly saved image.
|
|
|
And here she is, in all her glory.
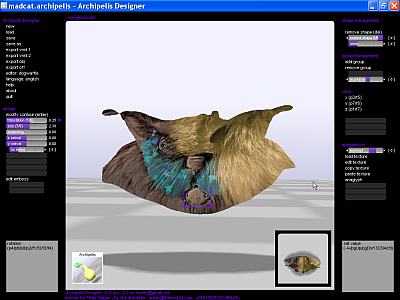
meow!
(woof?)
|
|
|
|
|
|
|
|


