

Exchanging Images with DogWeaver
from ArtWeaver to Dogwaffle and Back
from ArtWeaver to Dogwaffle and Back
To start, run ArtWeaver. You may want to also have Dogwaffle running, with an empty image.
Select ArtWeaver's File menu and open an existing image from file.
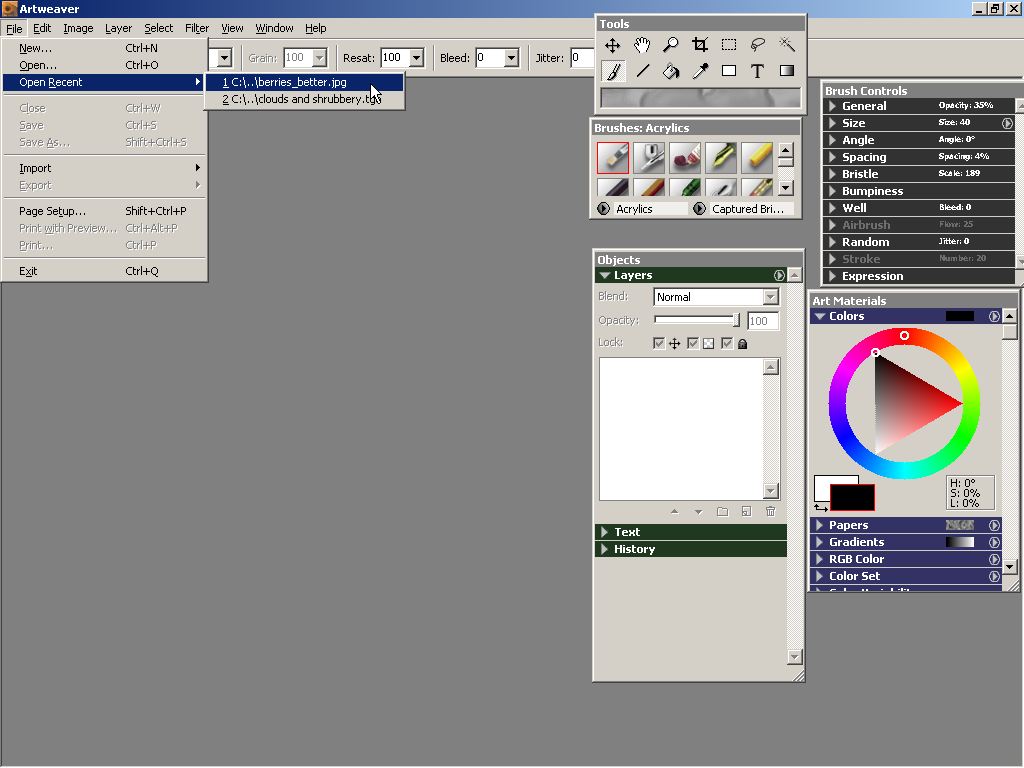
< click images for large view
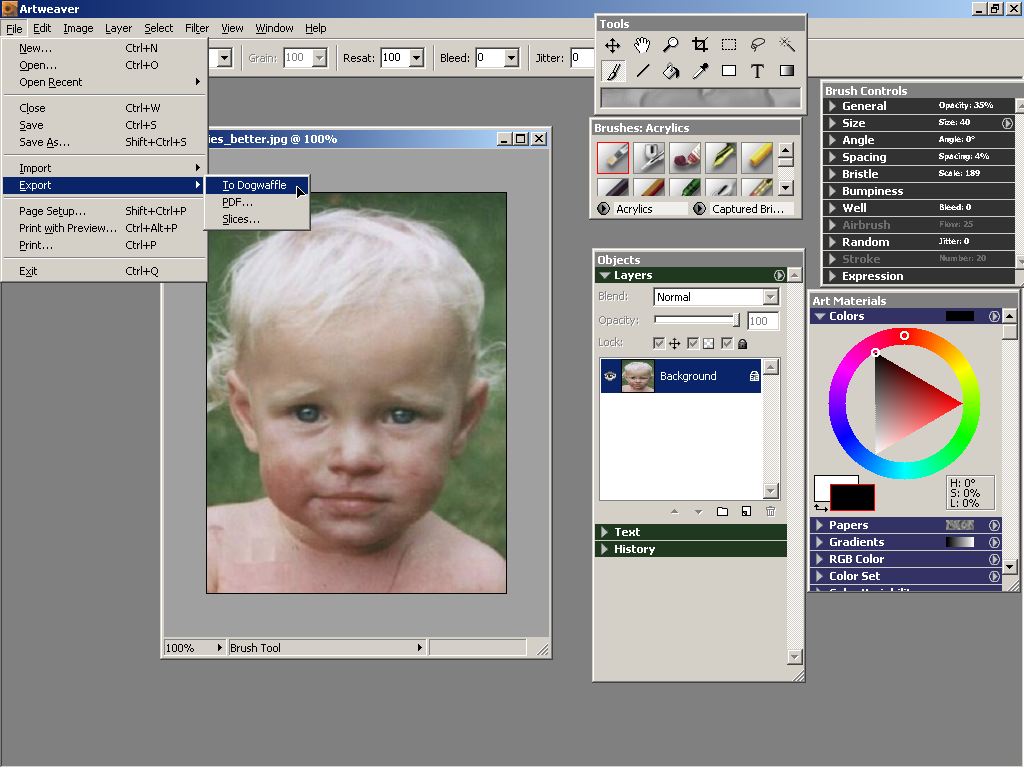
Once you have an image in ArtWeaver, whether loaded from file or painted in Artweaver, export it directly to Dogwaffle.
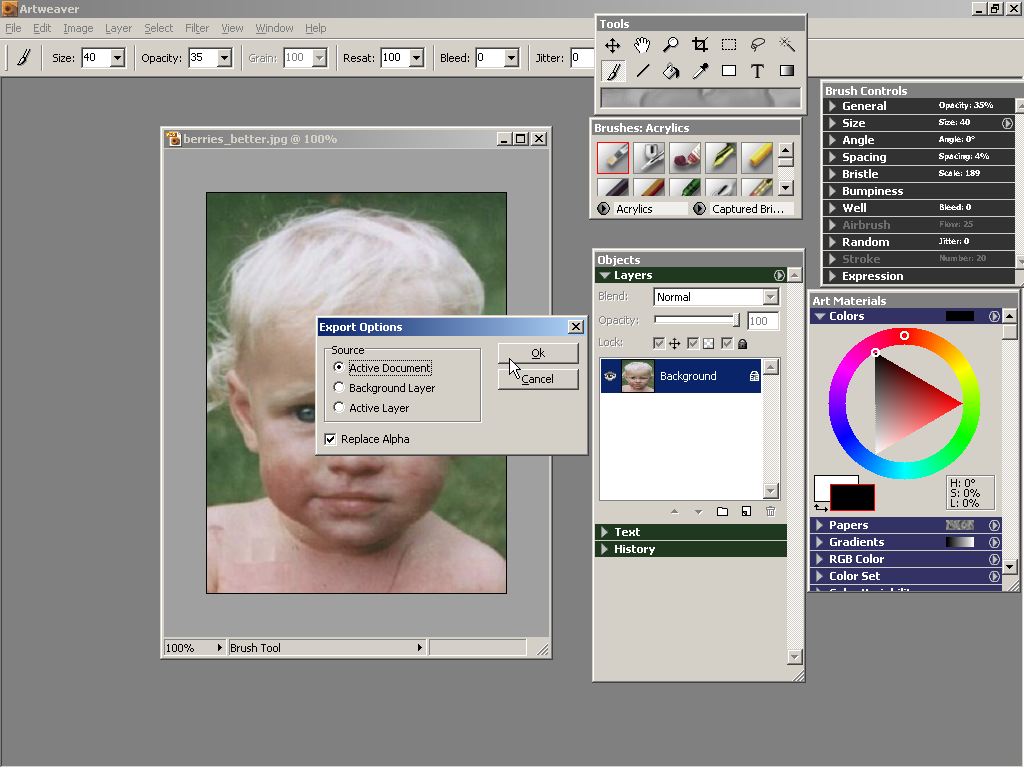
The Export options for DogWeaver will appear. In this example there is only one layer in the image. "Replace Alpha" is checked, but probably won't have any bearing on the result since there is no transparency mask or alpha to send in this example.
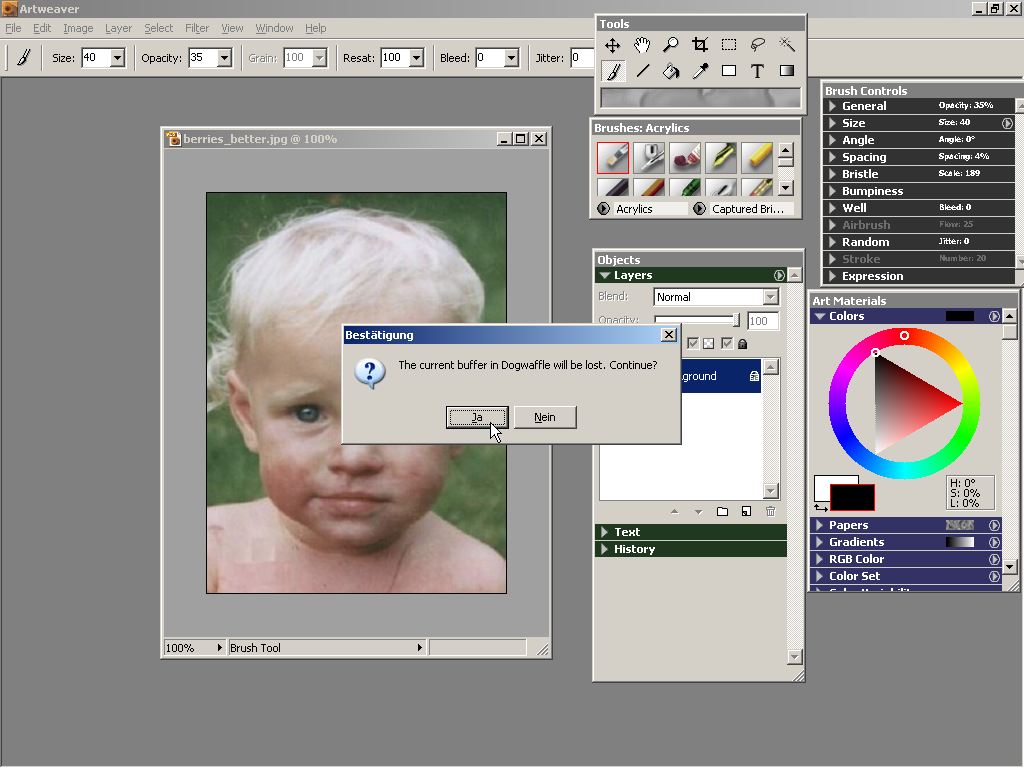
A final warning appears to remind you that the current buffer in Dogwaffle will be lost and replaced with a new one of different size to accomodate the new image coming into Dogwaffle from ArtWeaver. (note: ok, so this is release 1.0.... 'Bestaetigung' means confirmation, 'Ja' means Yes, 'Nein' means No)
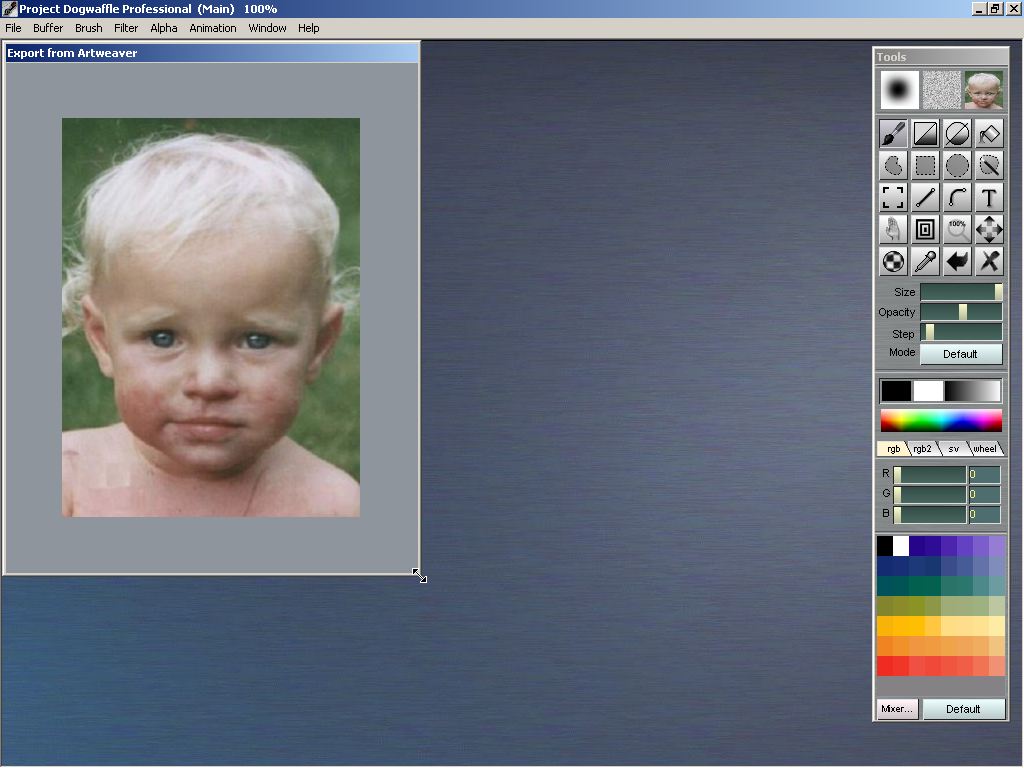
Use Alt-Tab to view the current processes and Tab (while holding Alt) to the Dogwaffle icon. This will Switch you to the Project Dogwaffle Window.
The newly created image buffer is now loaded with the image which was exported from Artweaver.
There are numerous things you might want to do with the image now that it's in Dogwaffle. Perhaps the contrast or brightness and color range is not optimal. You can usually fix this quickly from the Buffer menu with the option to Expand the Dynamic Range.
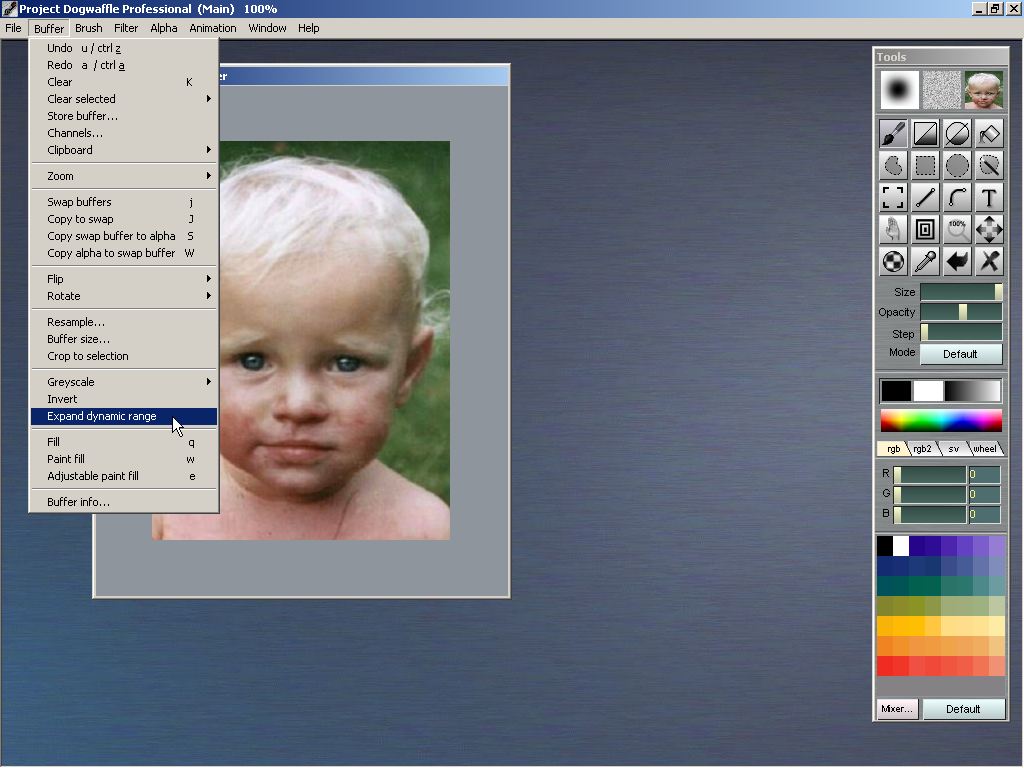
Or, you might want to extract one of the channels, such as the green channel, and return it as a greyscale.
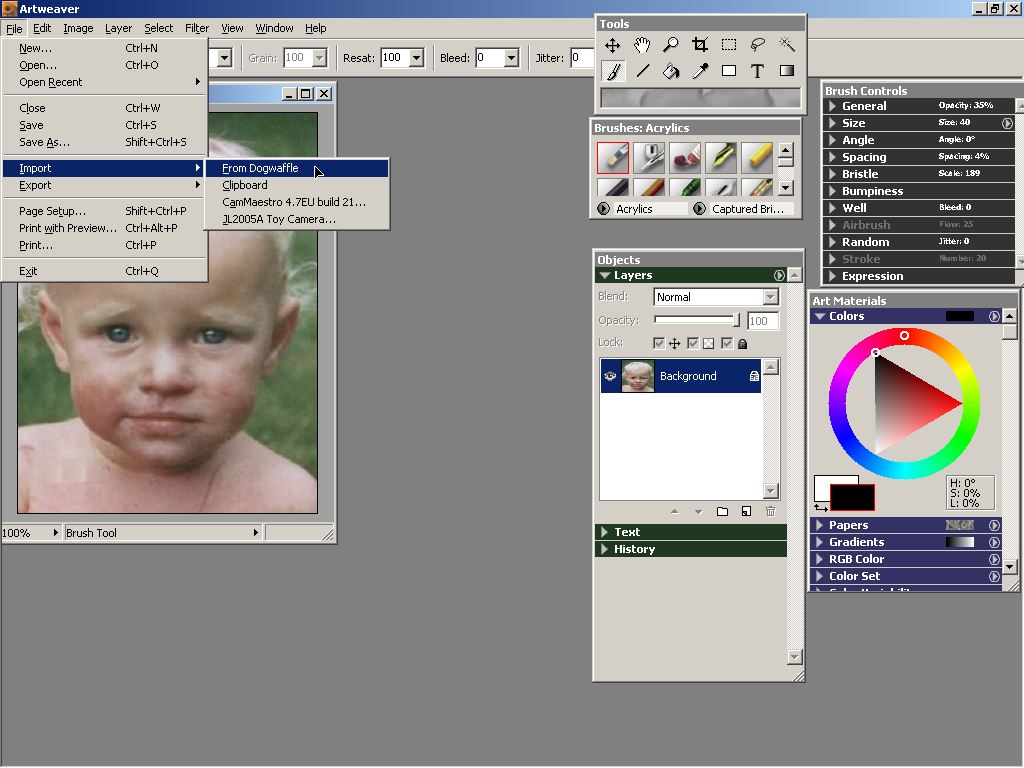
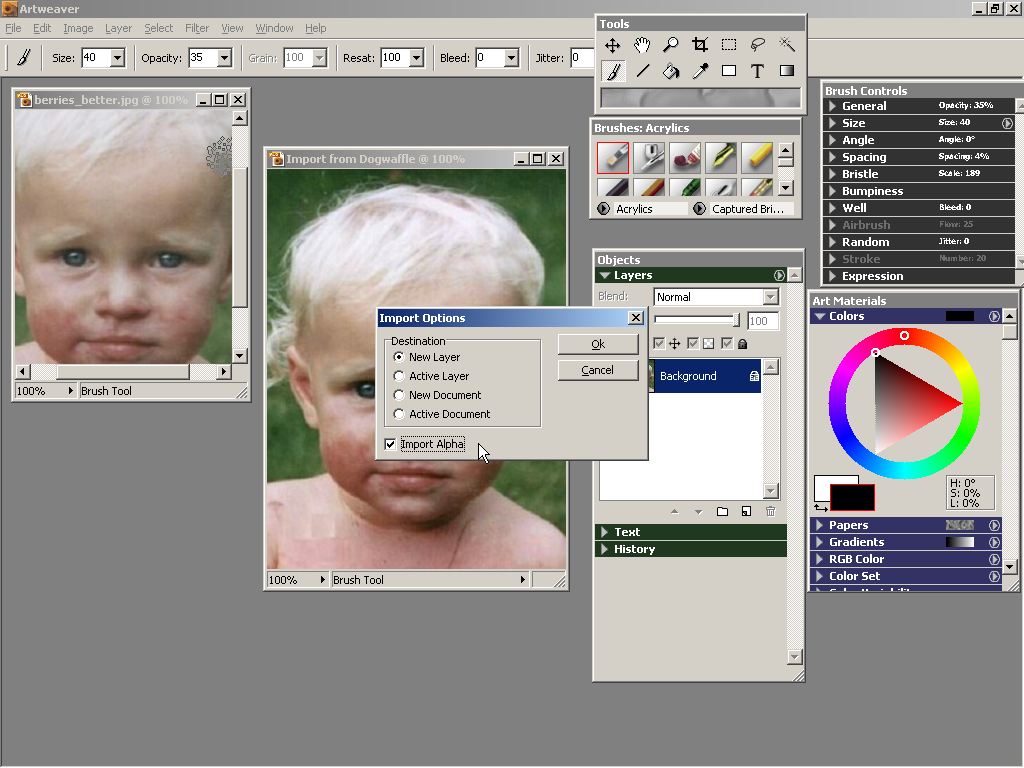
You can now indicate where to receive the image that's about to arrive from Dogwaffle. In this case, let's ask for a new document. In a later example, we'll add a new layer to the current document. We'll also check the box to import the alpha channel with the image, but not in this example yet.
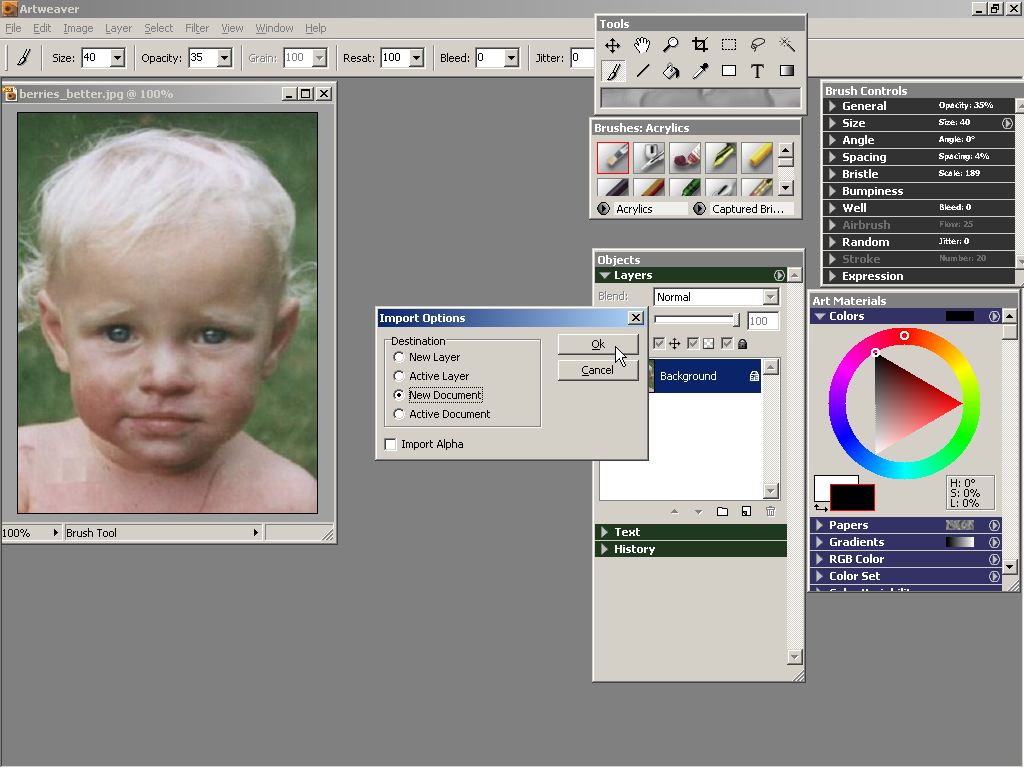
We now have two documents. The one to the left shows the name of the file from which it was opened originally. The new document containing the image imported from Dogwaffle appears to the right.

Use ALT-Tab again to switch back to Dogwaffle. Now we'll create something new, i.e. we'll paint something that Dogwaffle can really do well: grass and foliage effects with the particle briushes. We'll then send that new image from Dogwaffle into ArtWeaver again, but this time as a new layer. We'll also want to make sure that alpha channel data be received into the ArtWeaver layer so that the underlying image remains visible when not covered by foliage.
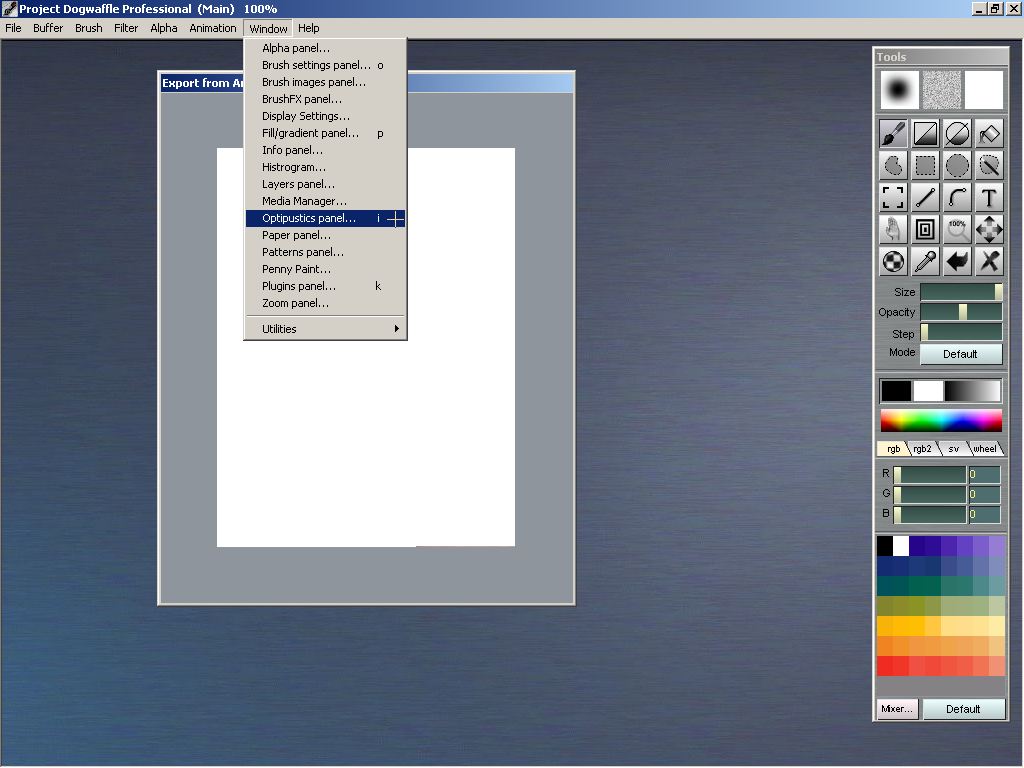
Use the 'Window' menu to select the Optipustics panel, or hit 'i' (which perhaps stands for incredible?)
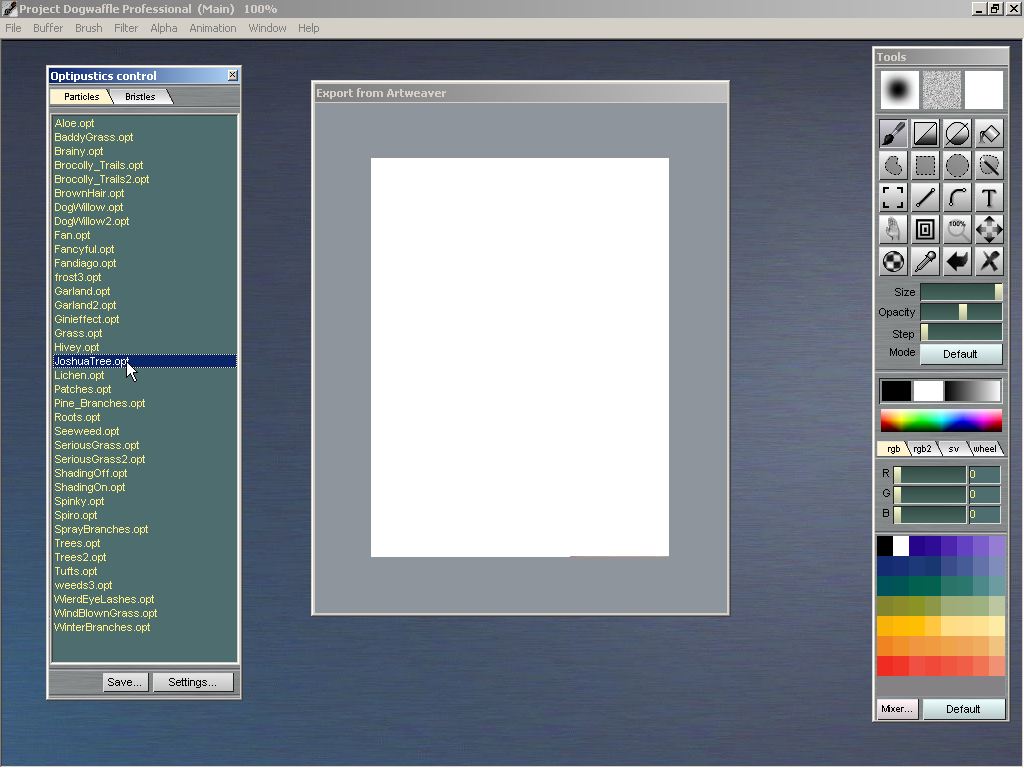
In the Optipustics panel, click the Settings button at the bottom to select a preset, such as the one for JoshuaTrees. It uses a shrinking line style, available since PD Pro 3.5
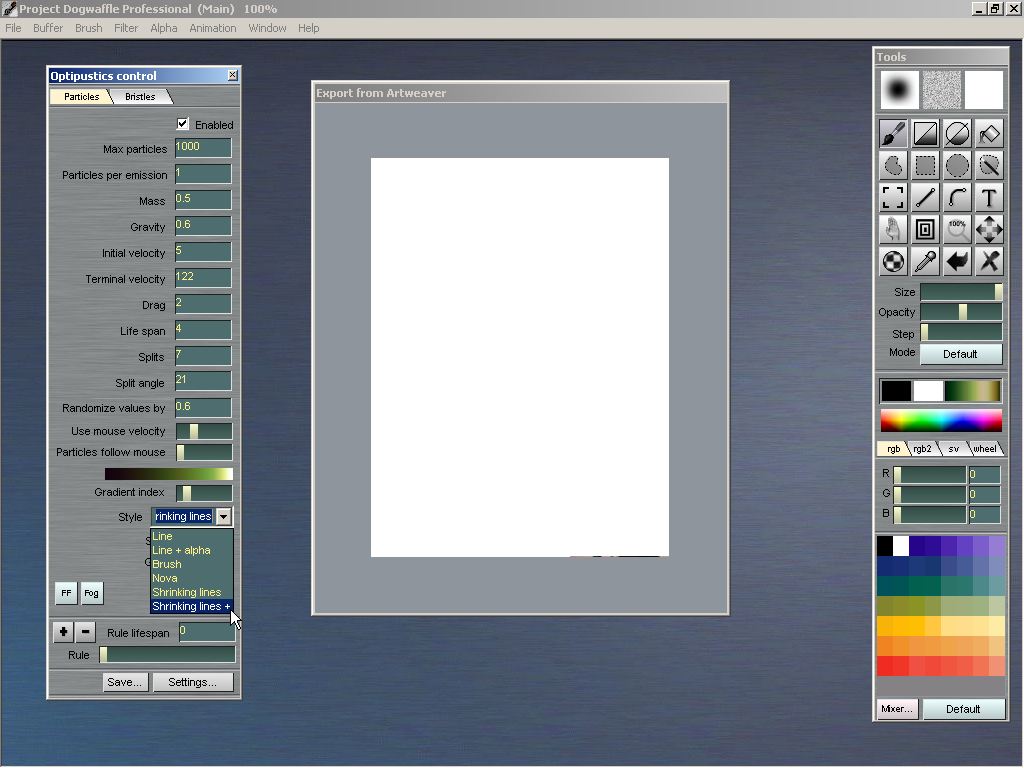
The style may show as Line or Shrinking Line, depending on which preset you selected. Let's use one of the styles that generate the alpha channel info on-the-fly: 'Line + alpha' or 'Shrinking lines +'
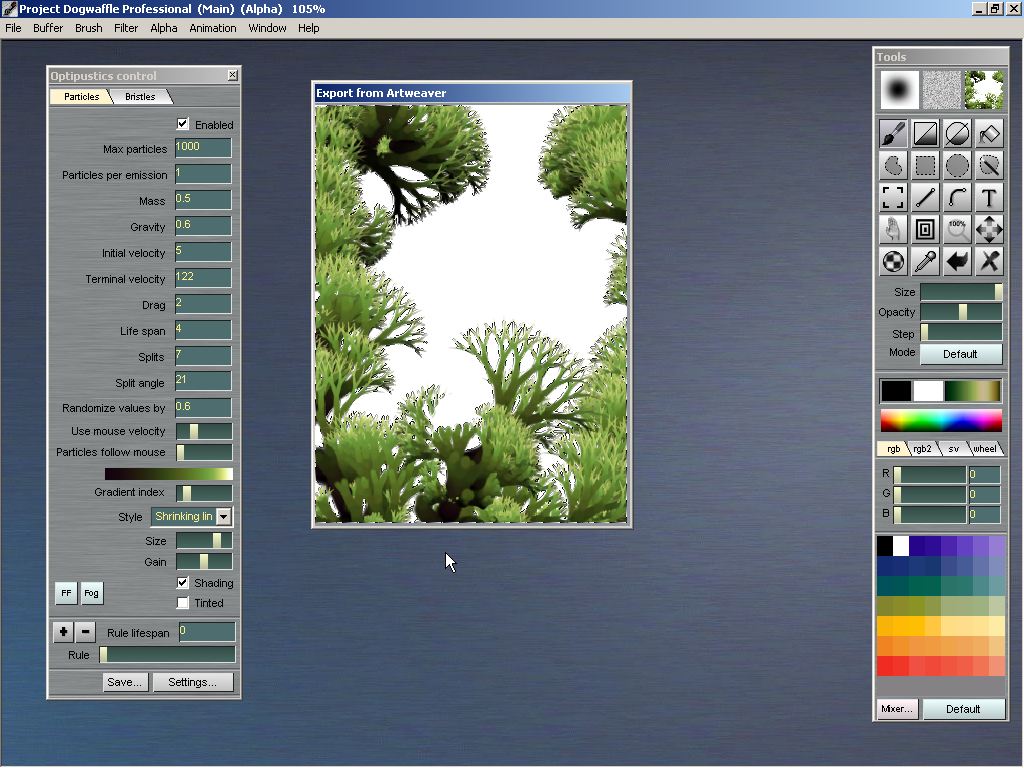
Now draw a few pieces of shrubbery, making sure you're drawing mostly along the border of the image. You should see the 'marching ants' along the painted shapes, indicating the presence of a selection mask in the alpha channel.
Back in Artweaver, we can now import this new image from Dogwaffle into a new layer, making sure that the 'Import Alpha' option box is checked.
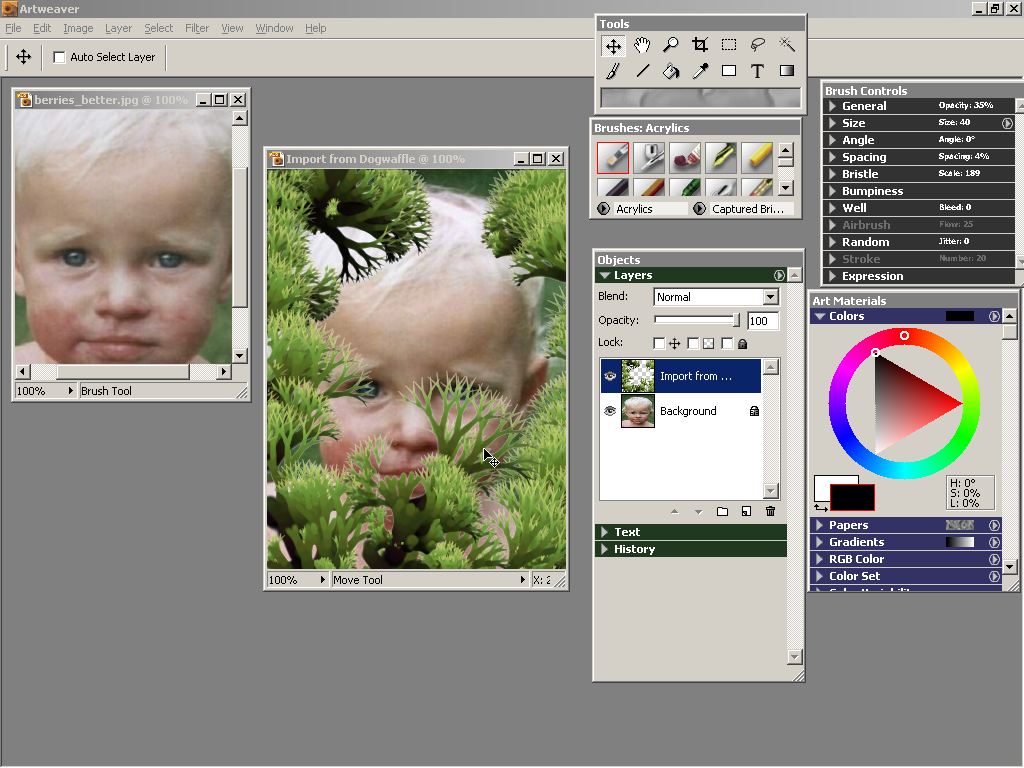
Voila! We now have a second layer in Artweaver, which contains the shrubbery painted in Dogwaffle, complete with proper alpha mask to see through the central parts of the image where the background layer's image will show.
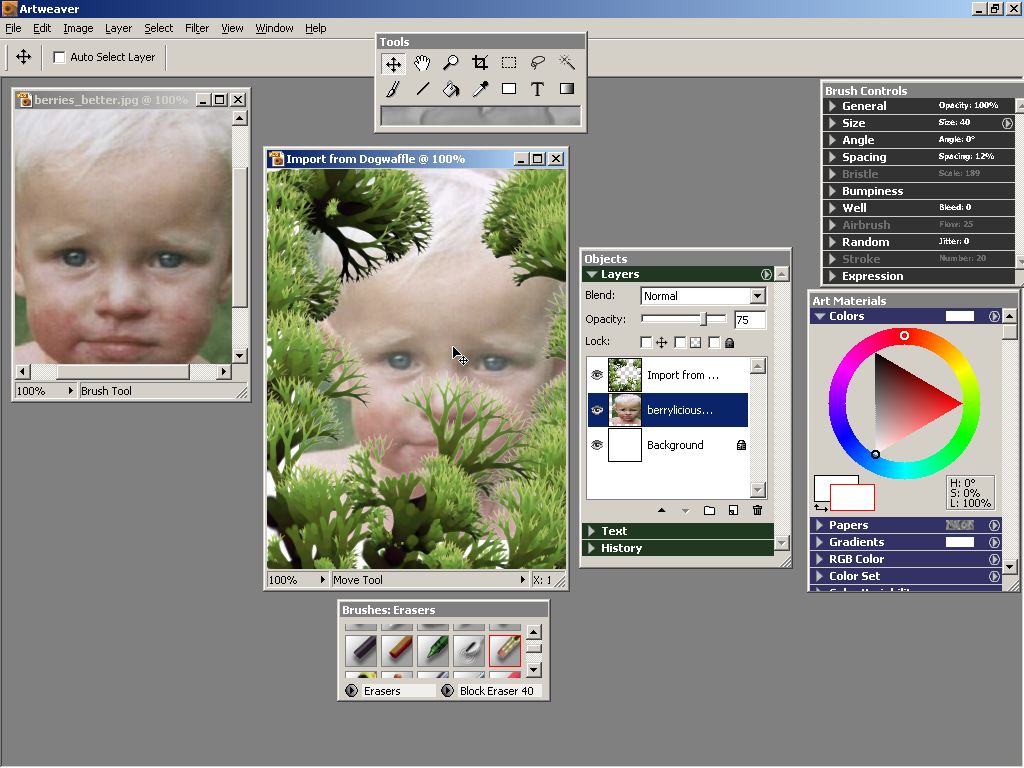
You might want to adjust the position of the image in the background. If so, you may need to copy ir from the background to another layer. That will also allow for additional controls such as opacity. Here we've moved the image a little bit to the upper right so that both eyes are visible. We've also reduced the opacity a little, which blends it with the white background to a lighter finish.
Well, that about sums it up. Both ArtWeaver and Project Dogwaffle have many many great features, brushes, filters and capabilities. Now you can more easily send images back and forth between the two.
As a final example, here's a look at using one of the artistic filters from Dogwaffle, the Graphic Pen filter, with its Pointilist style.
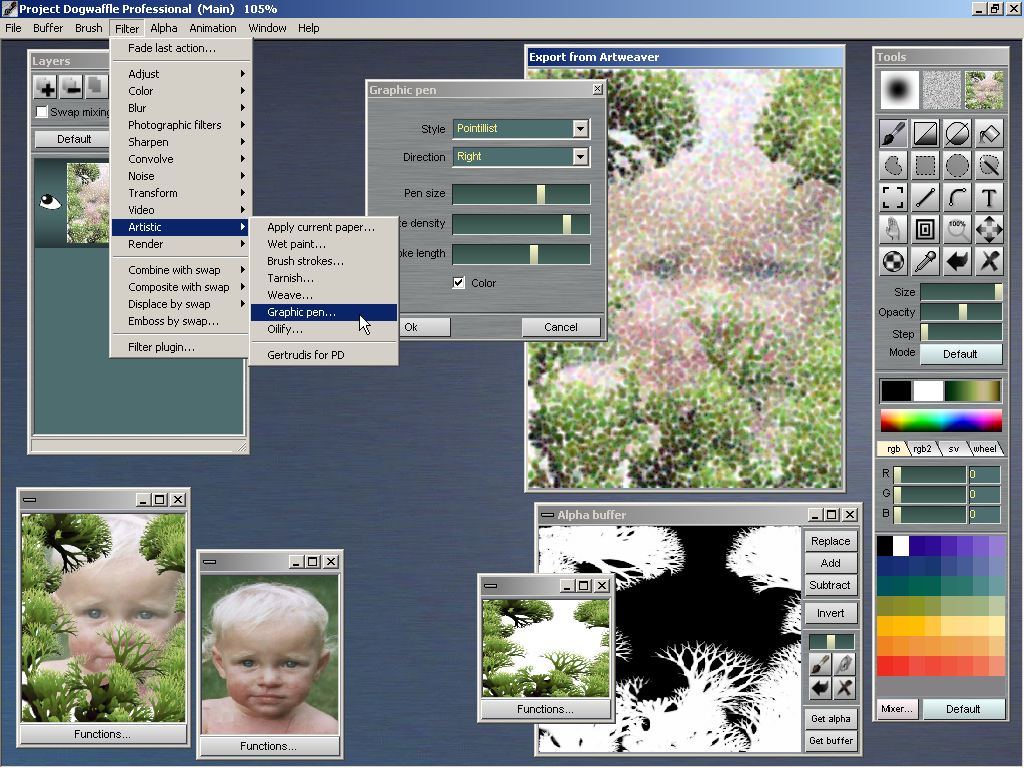
Other effects can be applied, such as the Crystalize, color emboss and many more. Some filters can even be Lua scripts coming from ArtWeaver, since both ArtWeaver and Dogwaffle support lua scipts and the gui server.
