|
|
||
 |
"Dogwaffler
of the Moment" - Alex Piola - Axe Eel Games
Tutorial #1 - Creating Clouds for Torque 3D |
Back tomain page |
|
|
||
|
Ciao! I wanted to share some of my steps and techniques that I use to make clouds. In this example, I create the artwork in PD Howler 9.6 and take it into my game engine based on Torque 3D. First, here is a finished result, where the clouds are integrated in Torque:  The engine supports two types of clouds. One is just a texture that appears as a cloud ( here's torque's documentation about it ) which is the one I used in this case. It can use multiple layers of diffuse textures for clouds. This uses a single image to create all of the layers. I don't know if Howler has a feature to create
normal maps, so I normally use http://ssbump-generator.yolasite.com/
for that. At this point, I am still learning a lot
about Howler. For example, I only recently learned
about a better way to make my textures seamless,
right in Howler's Image menu. I was using GIMP to
make seamless so far. Now found that Howler
has extra controls that I think will make it even
more suitable and further speed up the whole
process.
Here's roughly what I do. The structure is quite simple and uses a total of
three layers:
- First, I create a square image, 1024x1024 isn't
heavy for today's hardware and keeps some detail.
- I add a plasma noise from the menu: Filter >
Render > Plasma noise... to make a force field
for later painting the particles that will give
color to the clouds.
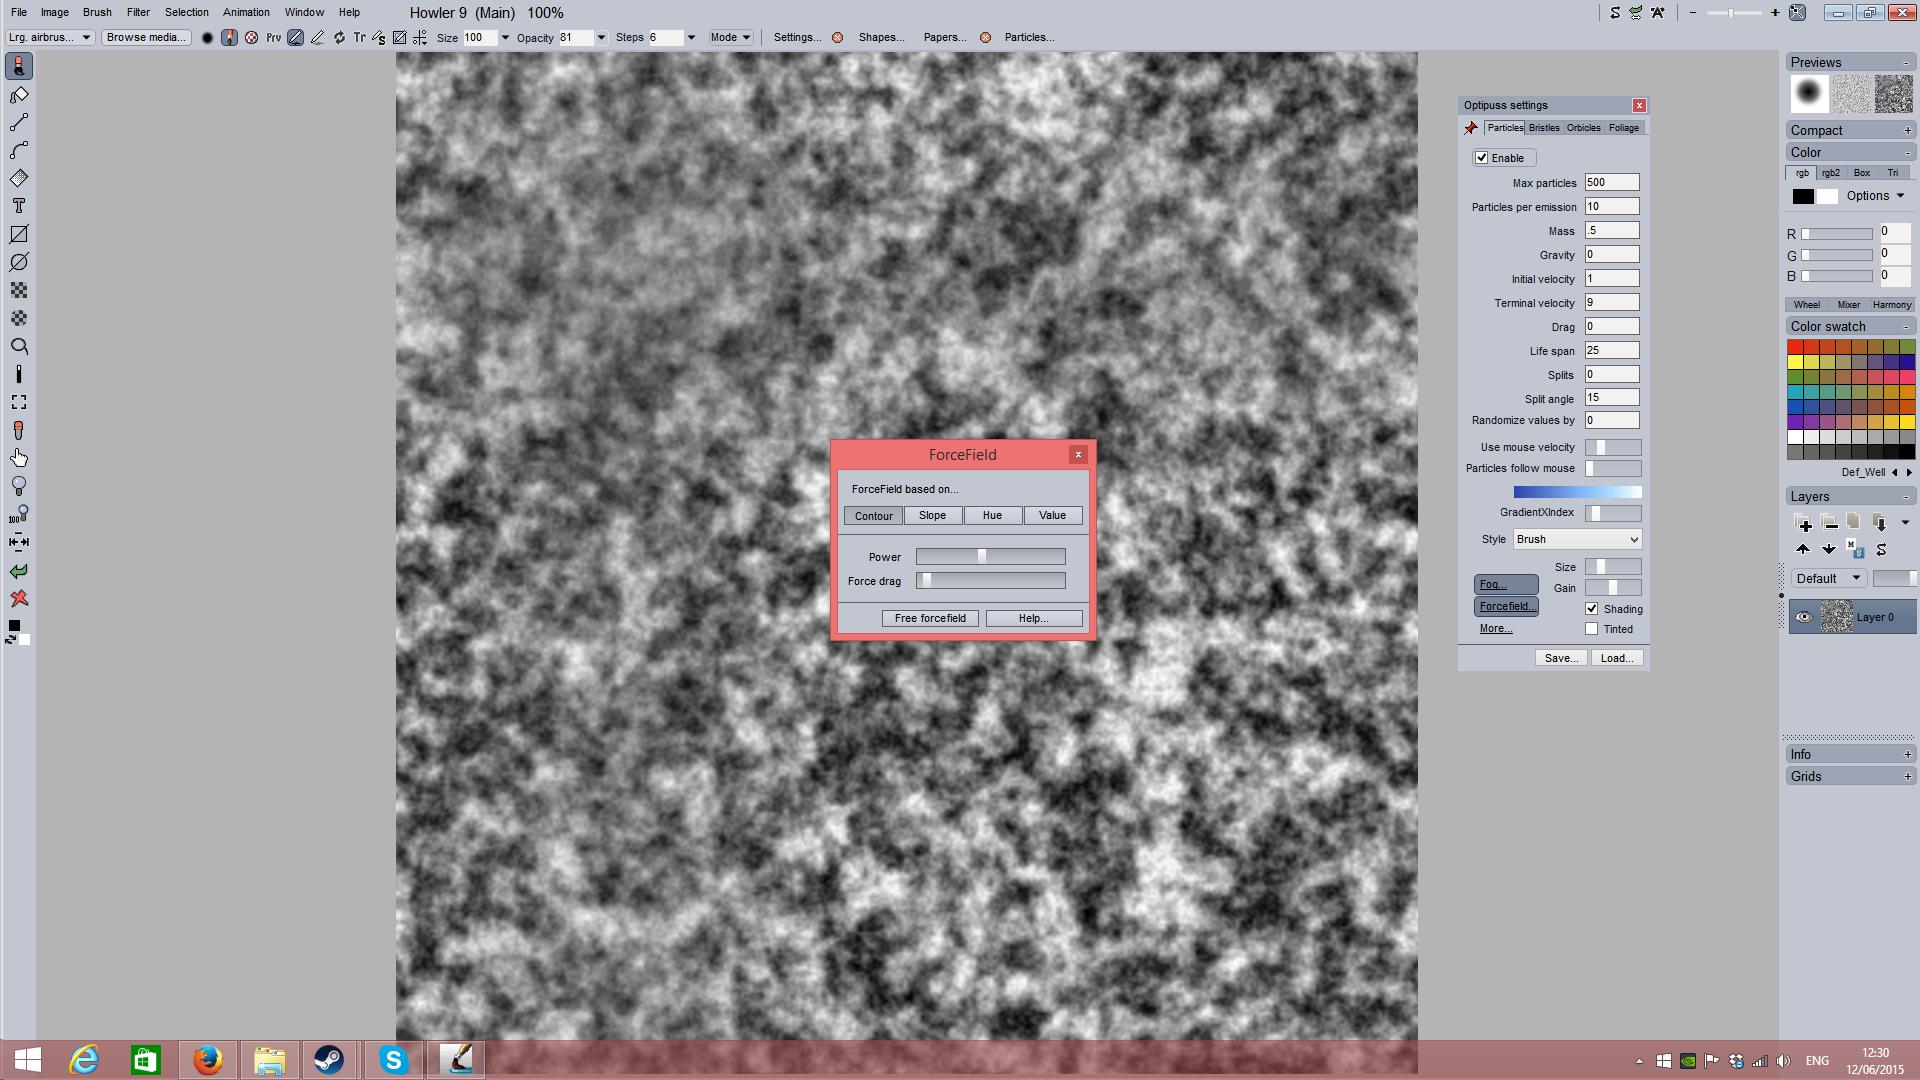
I choose two-tone, white and black. The scale is relatively low at 4, this is for fine details. Notice that the Plasma noise filter has an option to render itself seamless so this can save time since you don't have to make it seamless in a separate step later. After creating the image, I may store a copy (Image > Store image) and go to the Particle brushes. The force field is one of the advanced features in Howler's particle brushes. It can be very useful in creating erratic appearance, as well as creating natural looking textures, patterns for marble, too, and in this case I'll use it to draw parts of the clouds. The force field will add a nice touch of realism to the way my hand-drawn particle brush strokes evolve across the image. After activating the force field in the particles panel, the image can be cleared. I will then paint a new image, but it will be under the influence of the forecefield, and I can still adjust the intensity and other aspects of that forcefield. - I clear the noise to white. Ok, this screen
shot shows clearing to black. Later I do that too
:-). To clear to white, right-click the erase
tool near the bottom of the toolbar.
and then I paint the whole image with particle brush and "blue to white" gradient. - I add a new layer
.... and proceed to rendering Perlin Noise into it. This is for adding even smaller, fine details. The layer blending mode is Default, which is same as Multiply mode. - And then I added another layer with plasma
noise (this time for giving some depth to the cloud)
- I adjust the levels - there are several tools I
might use, such as for Filter > Adjust >
Value, for contrast, brightness, or the Adjust >
Curve adjust, and especially Adjust >
Levels - to fit the needs (I wanted
clouds to be a bit scattered, so I made it with more
black, which will turn into more gaps, or holes that
reveal the sky behind when it's all put together)
I might also finely adjust the level of blending on either one of the layers, for small variations. - As part of my workflow habits, I store the image(always a good habit when tweaking images, it becomes a natural part of my workflow and I can easily revert back to a prior image if I had it stored) and I export it. The stored copy offers several ways to update or replace and create a new image from it, or even just from some of the RGB channels. We then need an alpha mask that uses the black to make transparency. I sometimes used Gimp, but I also found great tools right here in Howler, convert to greyscale and then just load that to the alpha channel. For example, from the Image menu: copy Main to Swap, and then copy Swap image to Alpha. Or I can use Selection menu > Store alpha, and click 'Get mage', which creates a greyscale stored copy, that I can then load as the alpha (click 'Replace' in the stored alpha panel). If you want to save the whole ting as a single PNG file, you'll want to load the greyscale as Alpha. Then you have the colors in RGB channels and the selection mask in Alpha channel, ready for saving. The PNG will then be 32-bit deep, RGBA. (RGB plus Alpha). If you use a system where the blending mask is loaded as a separate resource, you simply save the greyscale as a separate image. It's great to have that control. If you have a stored copy of the image, you can send it straight to Swap and from there on to Alpha too. - Next, I open my engine's world editor and add a
new BasicClouds object
- under the "Textures" field I set my new clouds
- I set the texture mapping scale (the higher I
set the number, the more images will be repeated)
- I combine the various cloud textures to make
the sky I want and I tweak the values for
wind/direction etc.
- done! |
||