

Importing
3D Objects from File
| Back
to Discovering Bryce |
| Bryce + PD Particles |
| More Tutorials |
| PD Pro Tutorials |
| PD Particles |
| Project Dogwaffle |
| TheBest3D.com |
| Shortly after
getting started with Bryce 5 and getting comfortable with the user
interface, you'll probably want to import an external 3D model you have
on your computer in a 3D file format. Sure, Bryce has its own
share of basic modeling capabilities, but by comparison with other more
advanced toolssuch as Carrara, Maya, TrueSpace, Lightwave, Hexagon,
Modo, Silo etc... it is not very suitable or practical to make complex
3D models. Chances are also that you might have downloaded a free
model, or purchased one from a 3D resource file such as Content
Paradise, Renderosity or 3Dcommune, for fun or commissioned work. This
is after all where most of us 2D artists are justifying the use of a 3D
tool for the first time. We may not have the time to learn everything
quite yet but we still have to complete that gig if we want to get paid
for it. And since time is money and we usually have neither, but less
time if it comes down to it, it's often a more cost effective solution
to find and buy the model than to figure out how to create and sculpt
it yourself |
|
||||||||||||||
 |
Say for example we have
this simple scene with sky and water surface in Bryce 5.0, rendered and
ready to receive one more 3D model. Perhaps we want to add a mermaid, or a pirate ship, or why not.... an elephant. And why not in fact find an elepant that was made with another 3D program which more focused on modeling than rendering? You may have already visited Brycetech, a great resource with tutorials on Bryce. You should know that Brycetech has also authored great tutorials for this modeling program: Amapi. |
||||||||||||||
 |
There are various free
versions of Amapi available online. My favorite has to be the good old
version 6.1. As of this writing, the latest Amapi 7.5 Pro is found with its new owner at e-Frontier, maker of Shade and Poser. Here's a screenshot of my little cartoony elephant. It takes just 1-2 minutes to whip it together with Amapi 6. If you would like to use this 3D file, download this:
Whatever the origins of your 3D model, let's take a look now at how to load it into your existing Bryce 5 scene. |
||||||||||||||
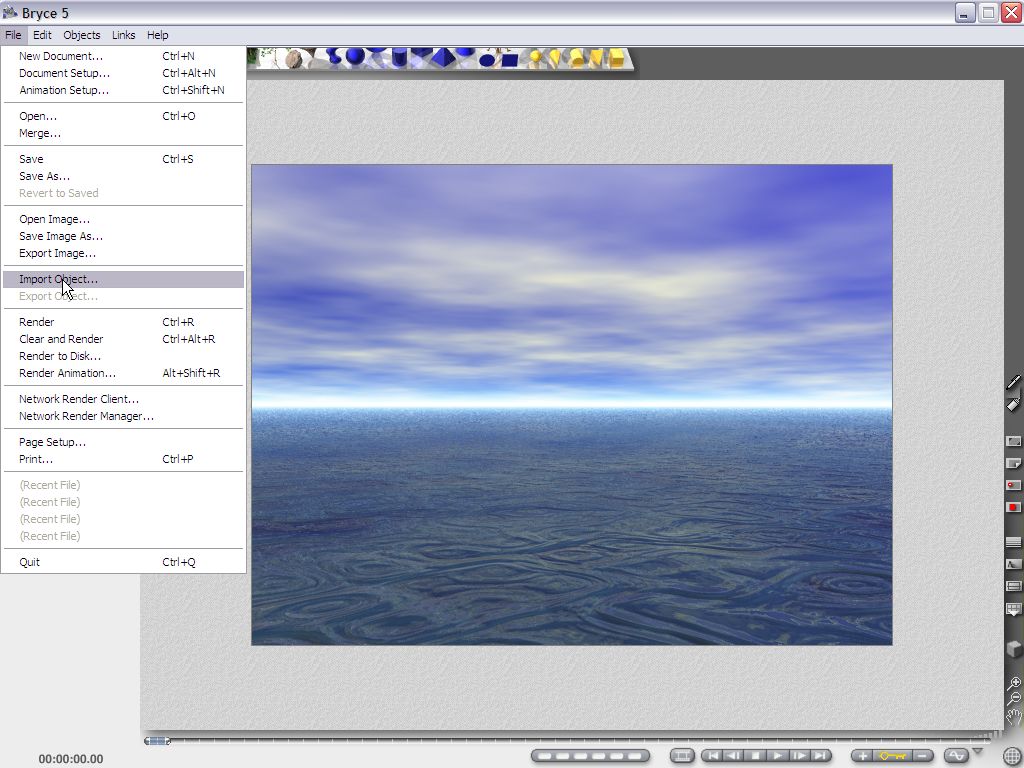 |
Importing 3D Objects Simply move the cursor to the upper left corner to open the menu bar, and select the File menu. From the File menu, find and select the Import Object... option. You will be presented with a standard file open dialog. By default, it is displaying all recognized 3D formats. If you have many many files of different types in the folder containing the one file you're interested in, be sure to change the file type. |
||||||||||||||
 |
There are numerous popular
3D file formats supported for importing
directly in Bryce 5, such as Wavefront OBJ, Lightwave, 3D Studio,
3DMF... Depending on which version of Bryce you use, you might even find optional, additional import modules. Look for example for a Turbo import module for Bryce, just in case your 3D model doesn't have a matching supported format in the basic Bryce. Note the USGS formats, which are of course of interest when creating landscape renderings based on US Geological Survey data (such as DEM files). Other popular modeling tools like Caligari TrueSpace can also be found in the mix of available formats. All in all there are great options for free or affordable modelers to be added to your Bryce rendering solution. Let's open the elephantoon model. |
||||||||||||||
 |
Uh-oh, what's going on. As
soon as we load the model, our elephant does show up as expected in the
3D wireframe scene. However, it is totally saturated white. What's up
with that? Is it just a fluke in my laptop's graphics with its limited driver for 3D? Easy to find out. Just render it. That will go through software and won't depend on the OpenGL or Direct 3D or other graphics libraries doing their magic in hardware. Well, no, it's really all white. Whats happening? |
||||||||||||||
 |
What happened in this case
is that we were using a file saved in
Wavefront OBJ format, and some of the material's color information was
just not right. The color of
the parts from the object file are listed in a material file.
The material's filename typically has the same basename except that it
ends in .mtl instead of .obj. Wavefront .obj and .mtl files are plain text files, so you can view them in Notepad or Wordpad. Taking a look at elephantoon.mtl, we notice this: # elephantoon.mtl
file generated by Amapi6
newmtl Surf1
Ka 1.000000 1.000000 1.000000 Kd 0.137255 0.513726 0.992157 Ns 0.800000 d 1.000000 . . . The line starting with 'Ka' (ambient coefficient) is saturated at the max of 1.0 for red, green, and blue. (color channel values are normalized from 0.0 to 1.0). So, no wonder it's all white. This might be a bug in Amapi 6.1, or perhaps due to other manipulations I may have done while in Amapi. At any rate, it doesn't matter, since this will be a perfect opportunity to learn how to edit and change the material settings of the imported 3D geometry, which is something we'll need to do sooner or later anyway. |
||||||||||||||
 |
Editing the Material With the Elephant still selected as the current object, let's switch to the Edit room. |
||||||||||||||
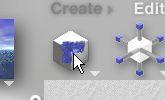 |
Click the left-most icon
in the tools panel of the Edit room. This is the Material Lab editor. |
||||||||||||||
 |
The Materials Lab window
shows a number of components. The AMBIENT component is all white. That's the culprit, that's indeed why the elephant is all saturated white. Bryce did the right thing, it set the ambient colors according to what the material file contained. Easy to change it now. |
||||||||||||||
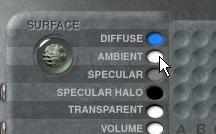 |
Click and hold the white
color dot next to the AMBIENT label. |
||||||||||||||
 |
A color selection tool
pops up, so you can select a darker color for the ambient component. |
||||||||||||||
 |
While you're at it, try
some of the other material components as well. You can even make the
surface transparent, refractive, reflective etc.... |
||||||||||||||
 |
Click the checkmark in the
lower-right to accept your new material properties, and do another
rendering. You can use Control-R to render. In this case, we had quite a bit of reflection added to the material. And that's it for this short tutorial, now you're ready to start importing your own models, perhaps downloaded freebies or purchased models from the DAZ3D site or other sources. If you're interested in making your own complex models, try other modelers which are offered by DAZ as well, such as Hexagon, or try the vertex modeler found in the current version of Carrara, also at DAZ3D.com, or even earlier (and cheaper) versions of Carrara. There are many places where interesting modeling tools can be found, some of which are free or so affordably priced that it is much easier nowadays for artists with an interest in 3D modeling to try things even on tiny budgets. Some more recommended modeling tools such as Archipelis, Curvy3D or LeoCad and Blender can be accessed at www.thebest3d.com |
||||||||||||||


