PD
Particles for
Cinema 4D GO
part 3 - ready? set... 'Go' !
Cinema 4D GO
part 3 - ready? set... 'Go' !
| More Tutorials |
| PD
Particles |
| PD Artist |
| PD Pro |
| TheBest3D.com |
 |
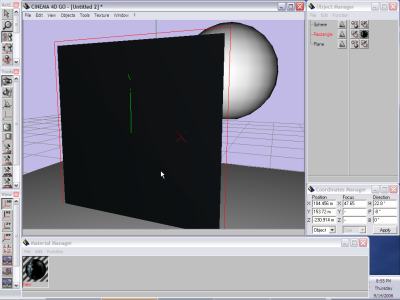
Back in Cinema 4D Go,
select the rectangle object. |
|||||||||||||||||||||||||||||
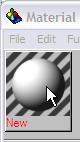 |
We've created a new
material earlier.If not, create one now. Or double-click an existing 'new' one to open its properties. |
|||||||||||||||||||||||||||||
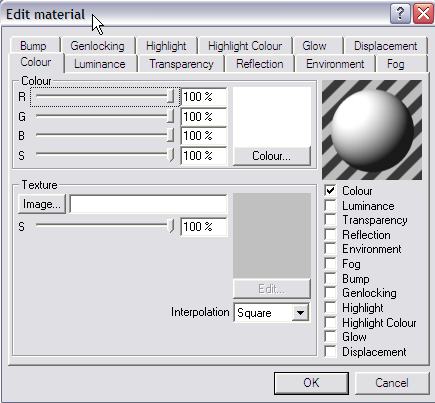 |
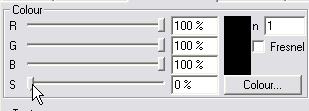
Select the Colour tab
(it's the default one selected). |
|||||||||||||||||||||||||||||
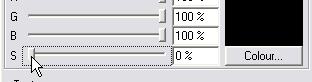 |
With the R, G and B
sliders comes a scale factor, or mudulator, slider 'S'. Move it to
zero, so that the color is not affecting the overall appearance. We
want to have that come only from the texture we're about to map. |
|||||||||||||||||||||||||||||
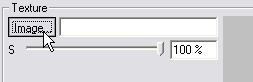 |
In the Texture group,
click 'Image...' to select an image file. |
|||||||||||||||||||||||||||||
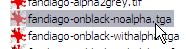 |
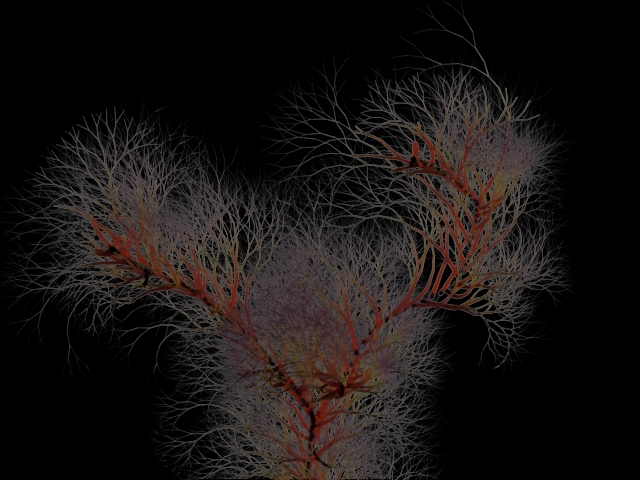
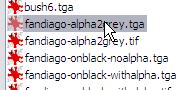
Select your file which
contains only the rgb values (colors), no alpha channel. If you don't have one, you can use this one: 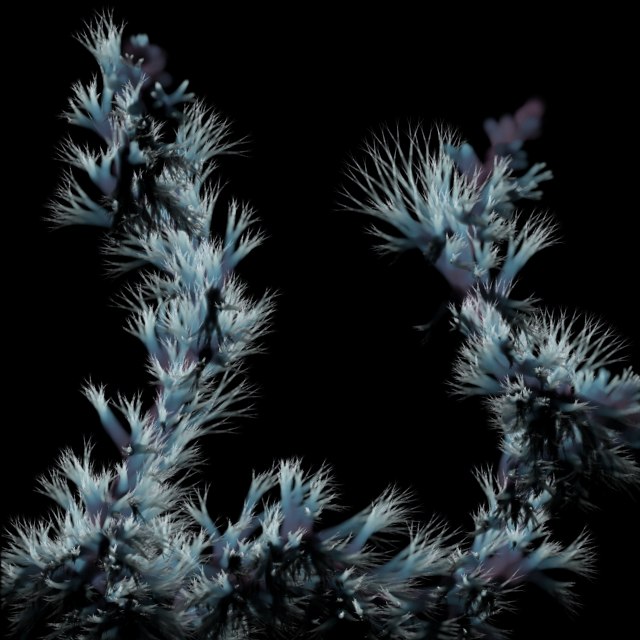 More
sample files at the bottom of this page!
|
|||||||||||||||||||||||||||||
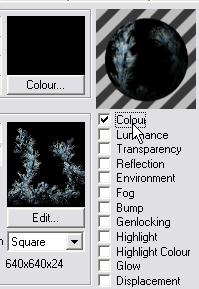 |
The image now appears in
the preview. Make sure the 'Colour' checkbox remains checked so that our image can indeed contribute to the coloring effects. |
|||||||||||||||||||||||||||||
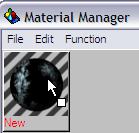 ---> --->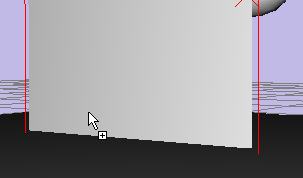 |
You can now drag-and-drop
this material onto the desired object in the 3D scene. |
|||||||||||||||||||||||||||||
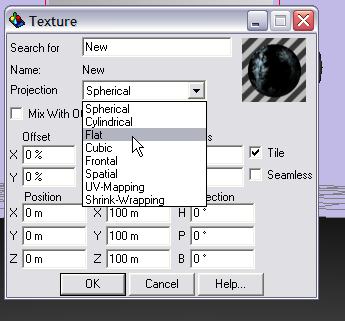 |
The Texture dialog gives
you now a last chance to select the mapping method. The default is
Spherical. If we apply this to a rectangle object we should change it
to Flat or similar. |
|||||||||||||||||||||||||||||
 |
The base color may change
in the 3D preview if you use one of the solid display styles. |
|||||||||||||||||||||||||||||
 |
Do a quick rendering, and
you'll see the texture applied too. As expected, the transparency is not present yet. |
|||||||||||||||||||||||||||||
 |
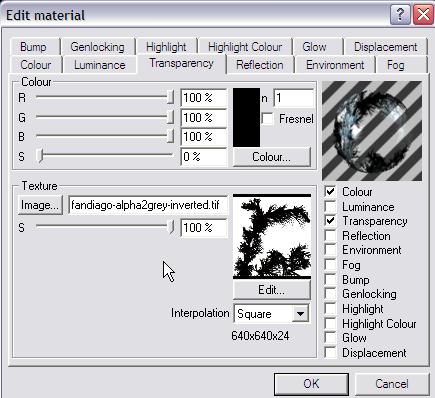
Go back to the material
shader, and select the 'Transparency' tab. It too has a colour component and a texture image component. For the image, use one of the greyscales we created from the alpha channels. |
|||||||||||||||||||||||||||||
 |
Set the color scale slider
(S) to zero again to make sure that the transparency only comes from
the image portion. |
|||||||||||||||||||||||||||||
 |
Make sure that the
checkbox for Transparency is enabled. The preview will now show
something different, due to transparency. |
|||||||||||||||||||||||||||||
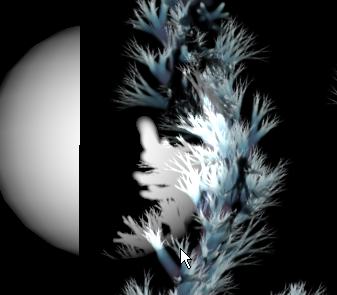 |
However, something's
wrong: the outside is opaque, the inside of the foliage is transparent.
Do a rendering to verify. We need to invert the mask. In PD Particles, we think of it as opacity. In Cinema 4D, it's transparancy, which is the oposite of opacity. |
|||||||||||||||||||||||||||||
 |
Easy enough. Back in PD
Particles, use the 'Negative' filter. Or, if you have Irfanview, Art Weaver or other imaging tools, use their inversion tools. |
|||||||||||||||||||||||||||||
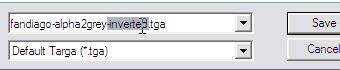 |
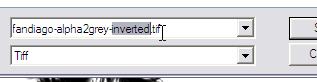
Save the inverted image
with a filename that identifies it as sch. |
|||||||||||||||||||||||||||||
 |
||||||||||||||||||||||||||||||
 |
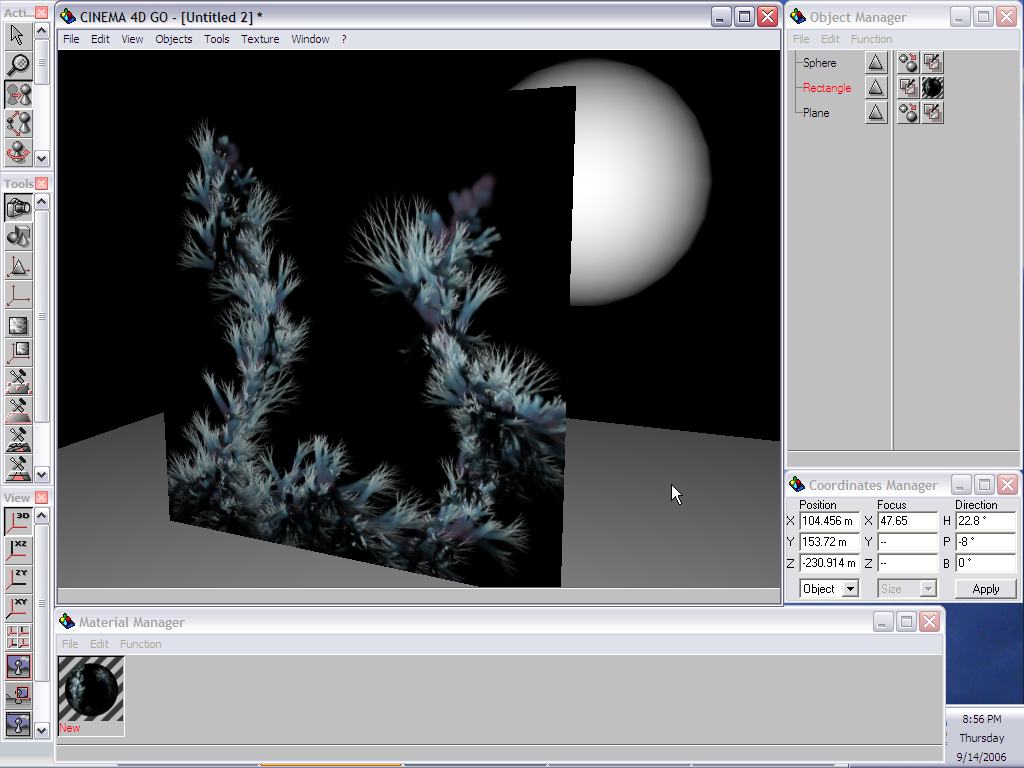
Now, when selecting the
correct file, the shrubbery remains opaque, while the background is
showing transparent. |
|||||||||||||||||||||||||||||
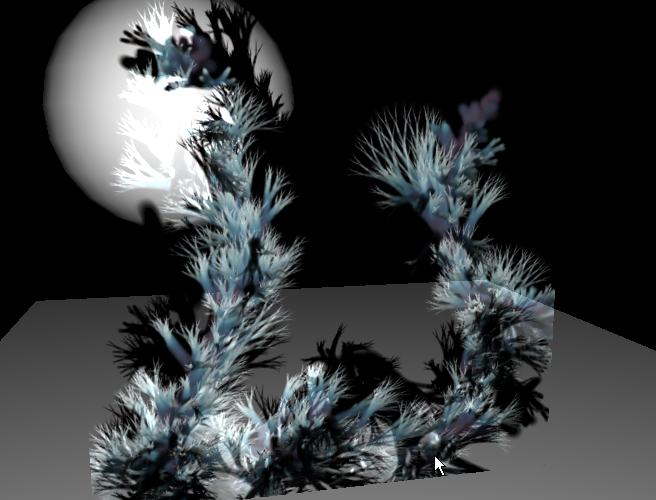 |
And voila!< a first
rendering with the texture combining color and transparency channels on
the textured rectangle. This is not a very sophisticated scene, of course, and the default 'headlight' lighting was used. You can see other examples with more sophisticated uses in the other tutorials. More examples done with C4D GO coming soon. Of course there's tons more to do on teh 3D scene side: lights, skies, other objects and terrain... |
|||||||||||||||||||||||||||||
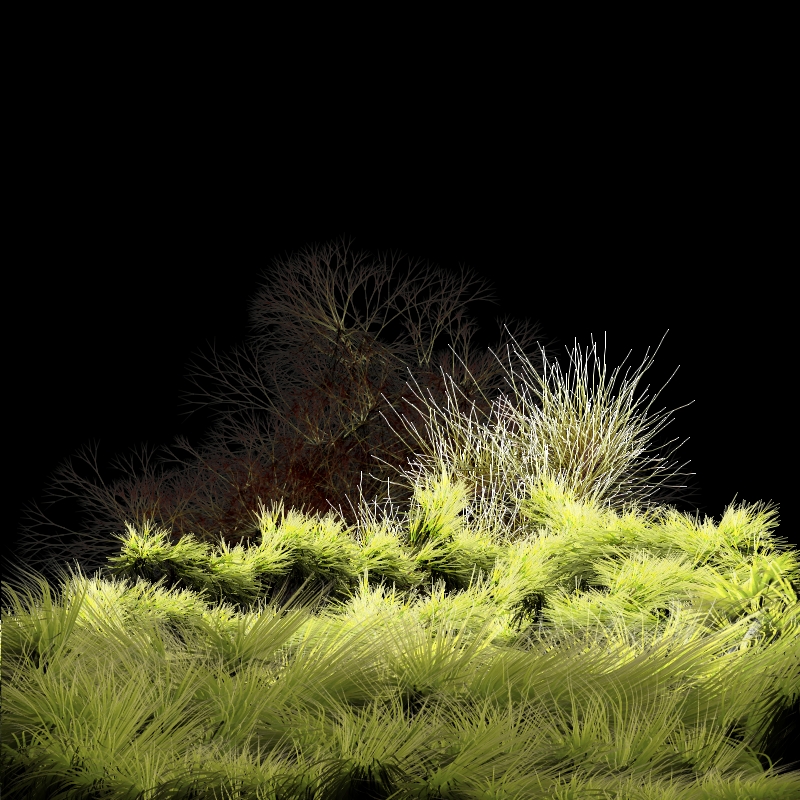
Here are a few more samples of foliage created in PD Particles:
|
Here is for example a
seamless texture that was created in PD Pro, at
2048x2048 pixels, which you could use for some grassy patches on the
ground plane: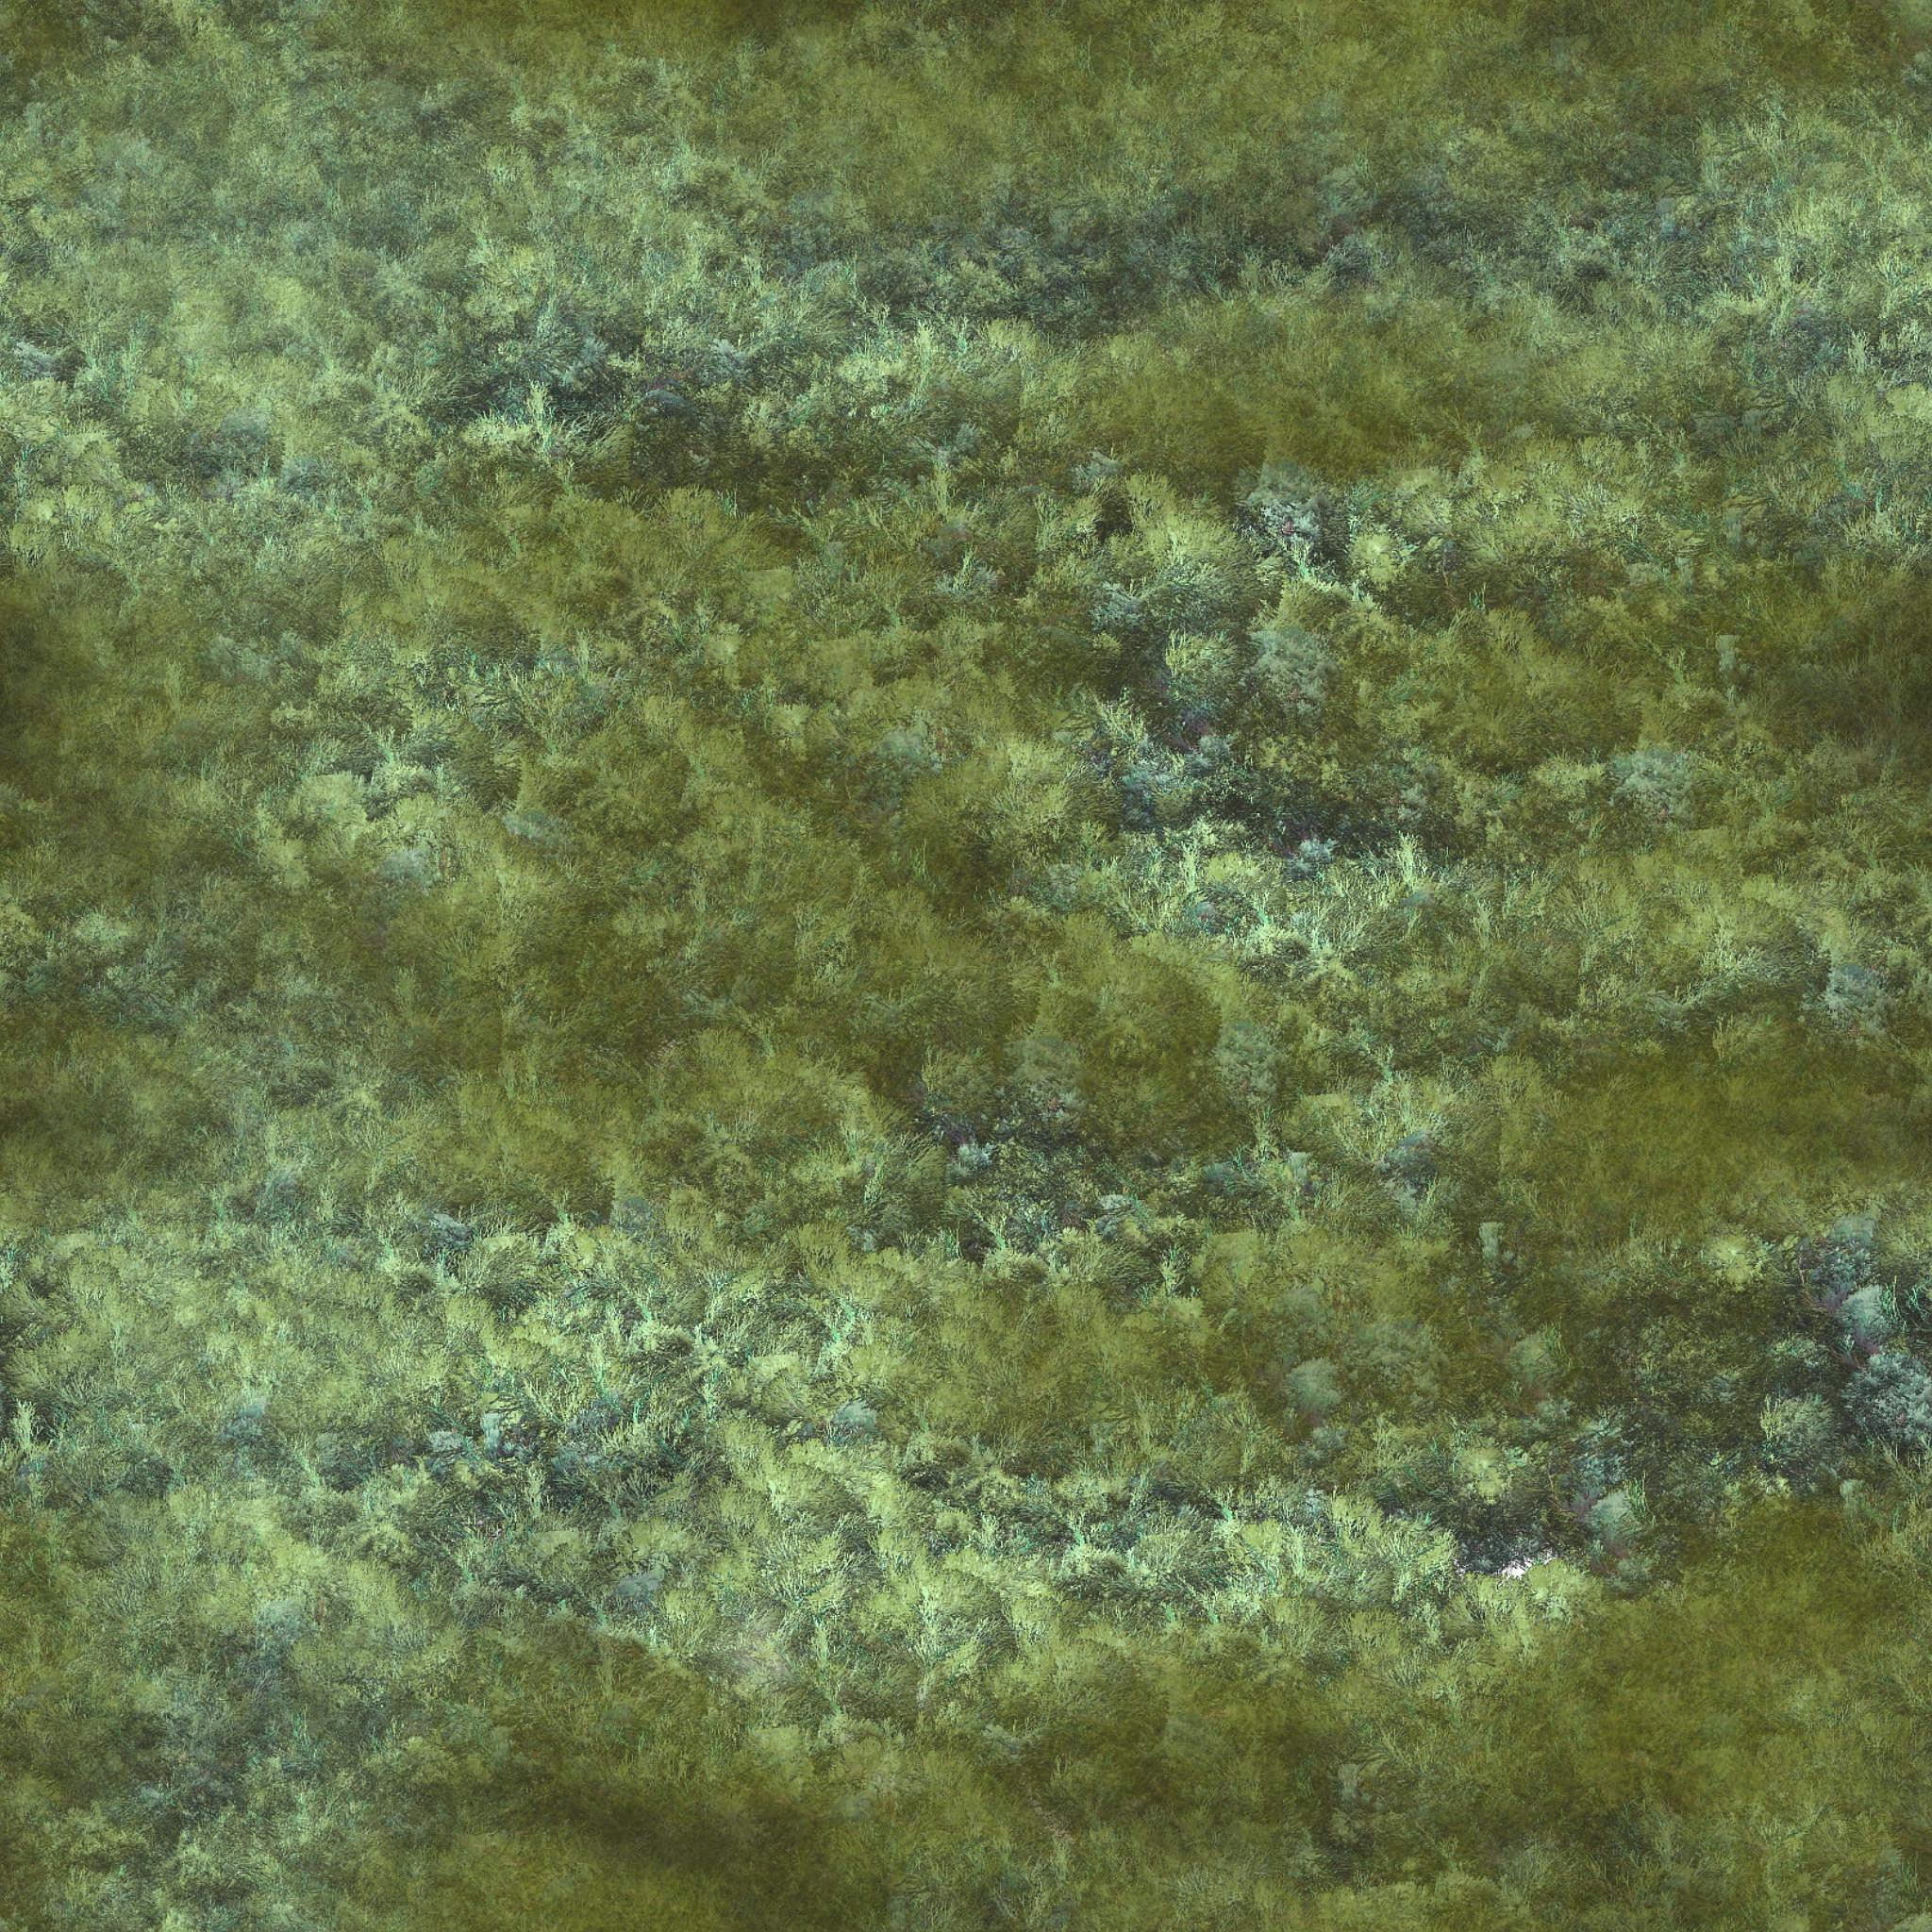 If you'd like to try for yourself, grab some of these files. And additional examples of foliage can be found through some of the other tutorials. |
|||||||||||||||||||||||||||||
|
part 1 - part 2 - part 3 |
||||||||||||||||||||||||||||||