|
Adding clouds
We'll now quickly paint a different type of clouds - big
Texas-style thunder clouds with silver lining.
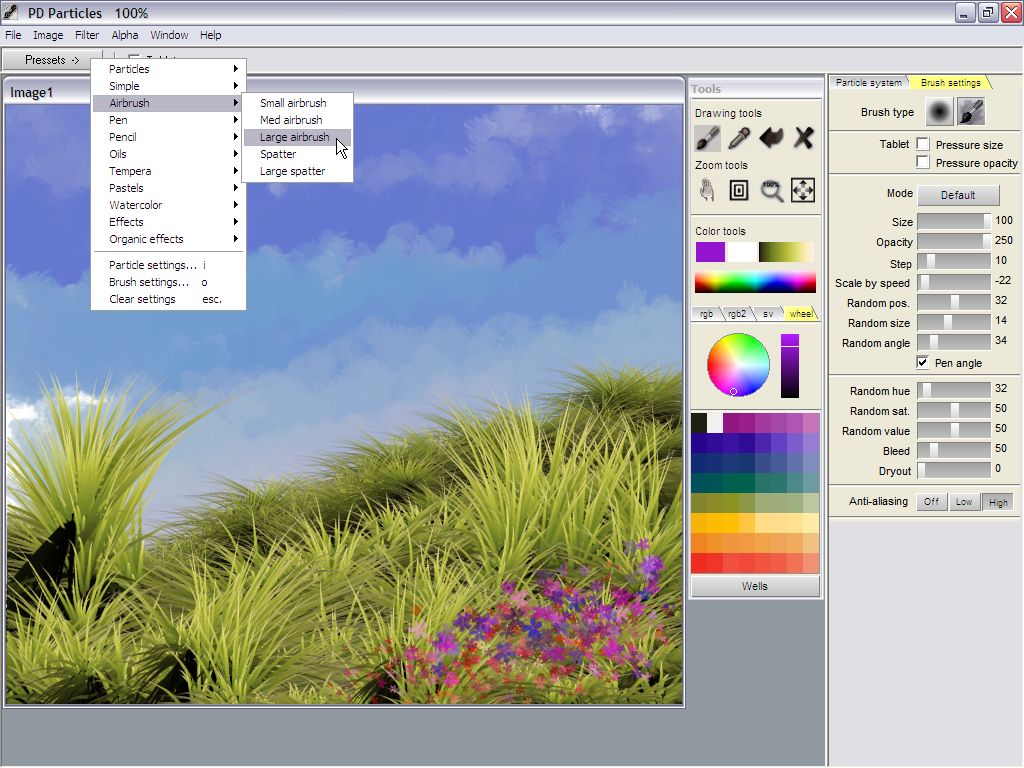
Click Presets and select one of the Airbrushes. Large airbrush will do
great.
|

|
Paint a few strings of
silver lining. Make sure that you use a bright color, ideally white, as
the primary color. You will want to set the secondary color (right
click on color tools) to white as well.
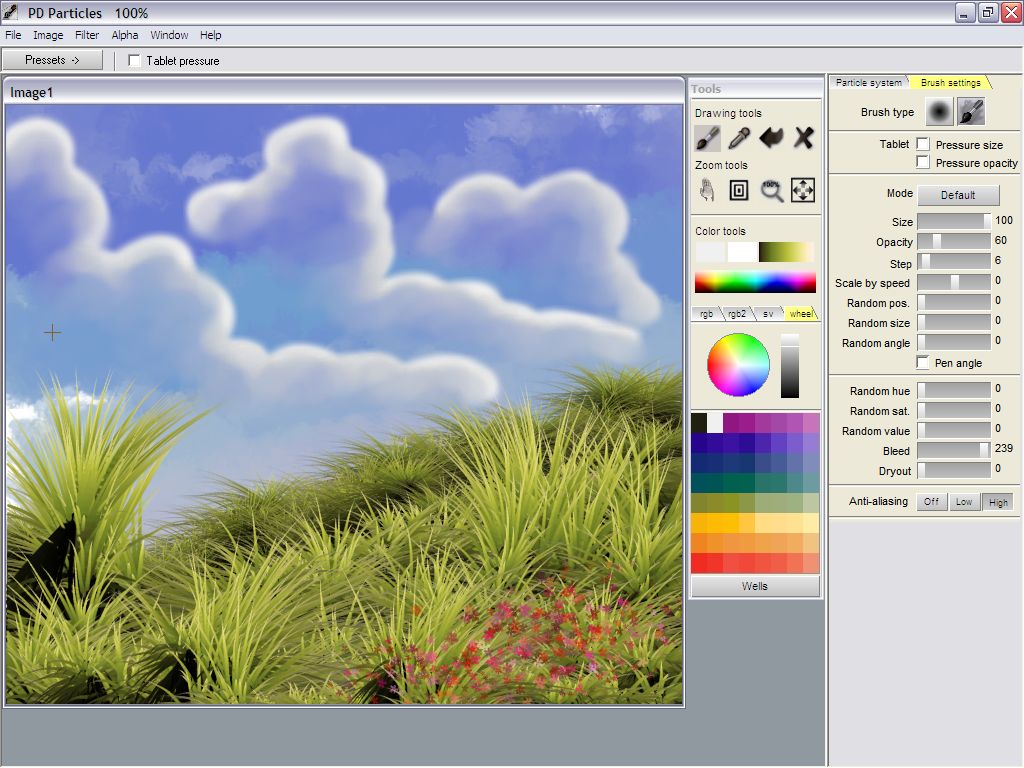
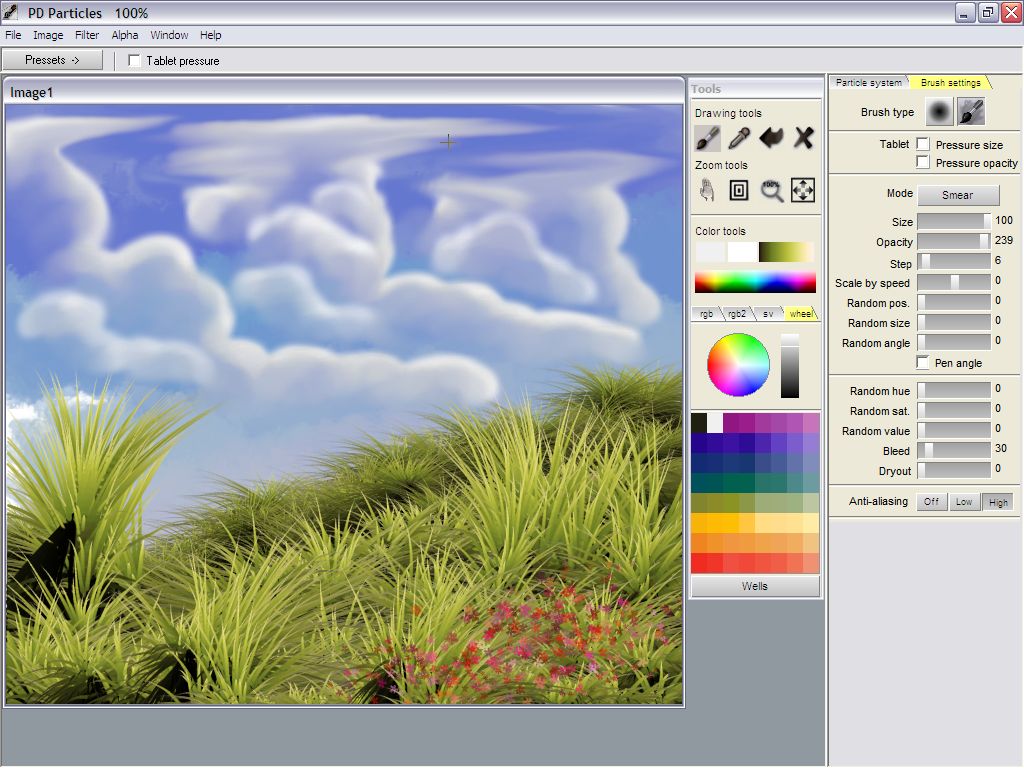
Now that we have the basic outline of the clouds, we'll use a smear
mode to wash out the inside of the cloud. Or better yet, simply
use the Bleed slider in the Brush settings to set the color bleed to a
high value. (you might also want to reduce the opacity a little so that
the effect is more subtle.)
|

|
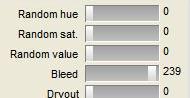
Color bleed simulates the
effect of wet paint on the canvas coming back
into the brush. The color blends with that of the brush, and is
re-deposited onto the canvas.
In this example we used white as the primary color. If you wanted to
make darker clouds, particularly on the bottom side, use a light grey.
All you need to do is draw small circles. The background color
from the blue'ish sky will blend into the color from the brush. This
results in a nice fuzzy puffy cloud appearance.
|

|
Note that there is a
difference between the left and right mouse colors (primary and
secondary colors). The color-changing parameters (random Hue,
Bleed, etc...) are only applied to the primary color when painting with
the left mouse button. The right-mouse button's secondary color is not
affected.
Thus, you can use the right button to easily add a few more stacks of
silver lining highlights. Simply use White as the secondary color too,
and then draw those highlights with the right button. Then keep doing
the circles with the left button again to further puff it up.
|

|
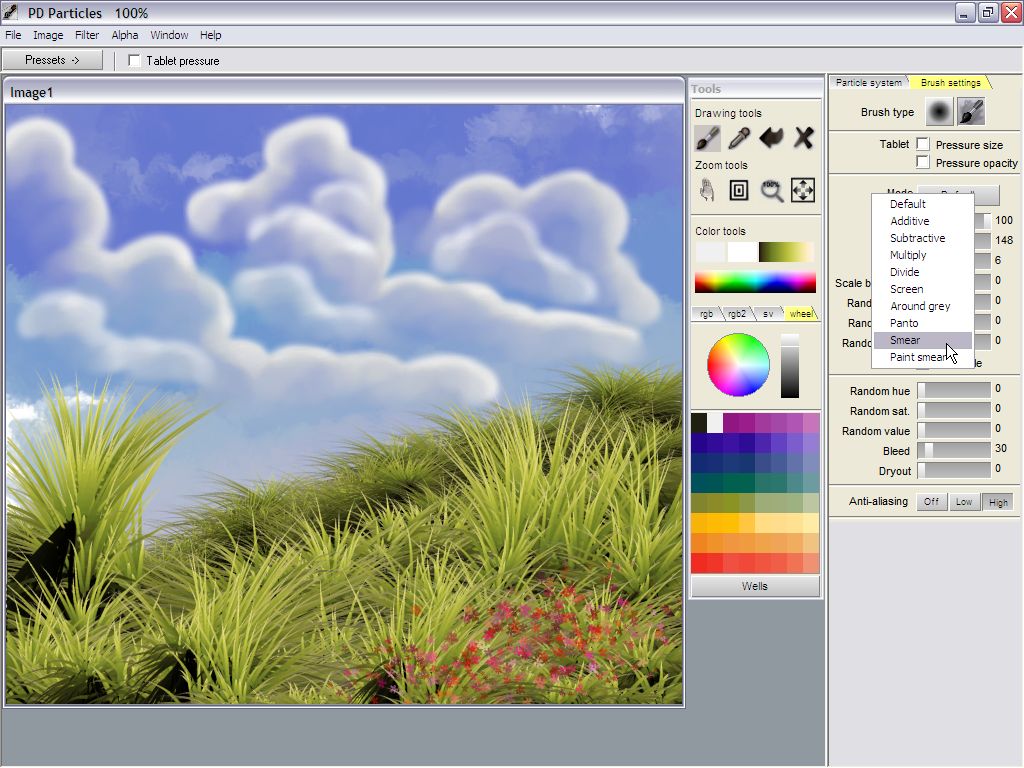
You'll also want to
experiment with the various 'Modes' which are available in the Brush
settings tab. The default mode is a replacing mode. The Smear and the
Paint smear modes can be great for adding all sorts of little turbulent
details along the silver lining of the cloud.
Or, you can use these to flatten the top of the clouds to make them
look like an anvil cloud.
|

|
Another parameter that can
be very useful in this context is the Dryout parameter. It gradually
reduces the intensity of the brush's effect, to subtly fade away.
|

|
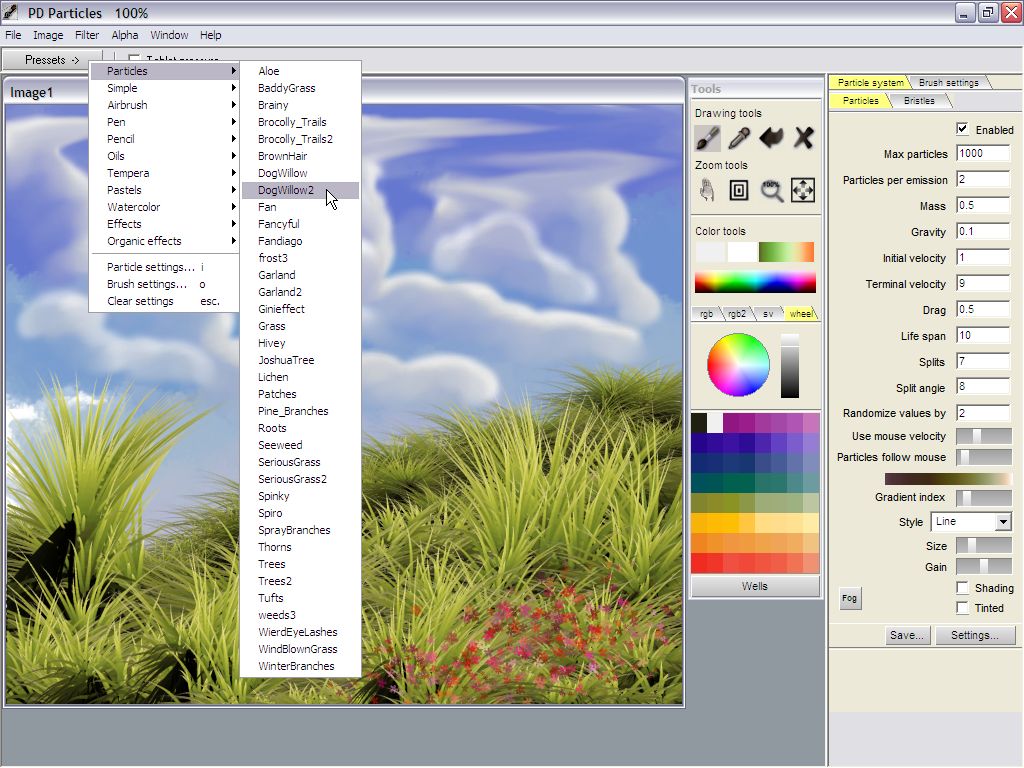
The clouds are done, now
let's add a little more shrubbery and trees in the front.
Switch back to one of the Particle brushes. For example, the Dogwillow
or Dogwillow2.
|

|
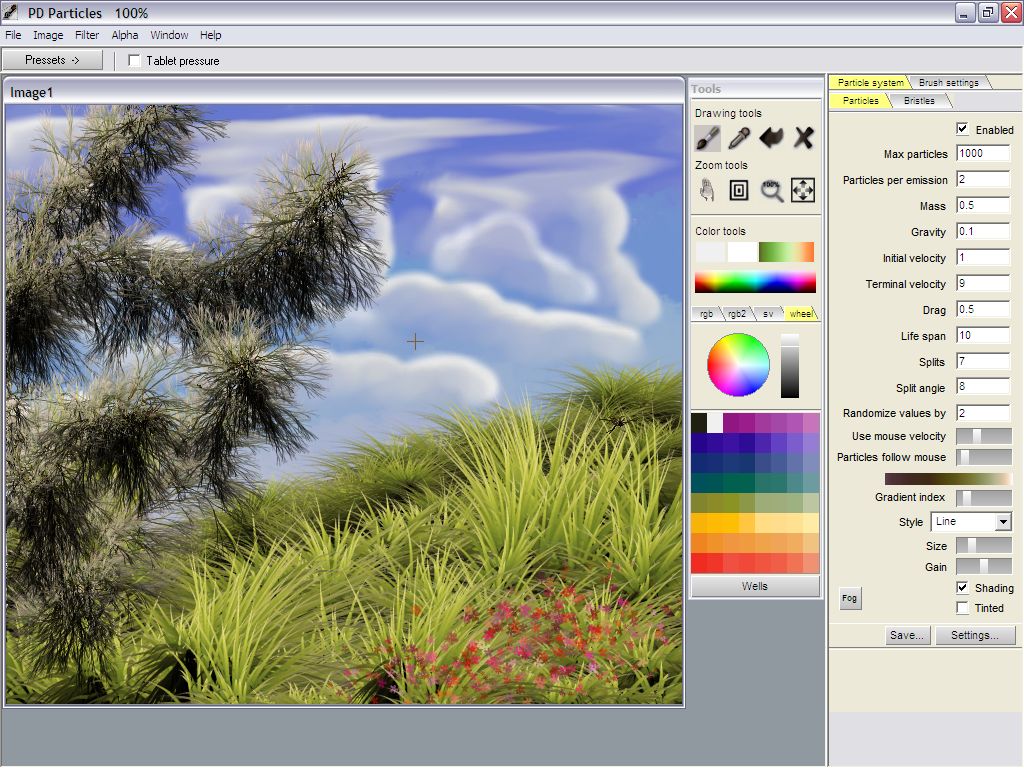
Paint it frely in front of
the grassy hill and clouds.
Try the 'Tint' feature and select a few similar colors with the left
mouse button to paint slightly differently colored versions of the
shrubbery.
Or, experiment with the many parameters in the Particles tab.
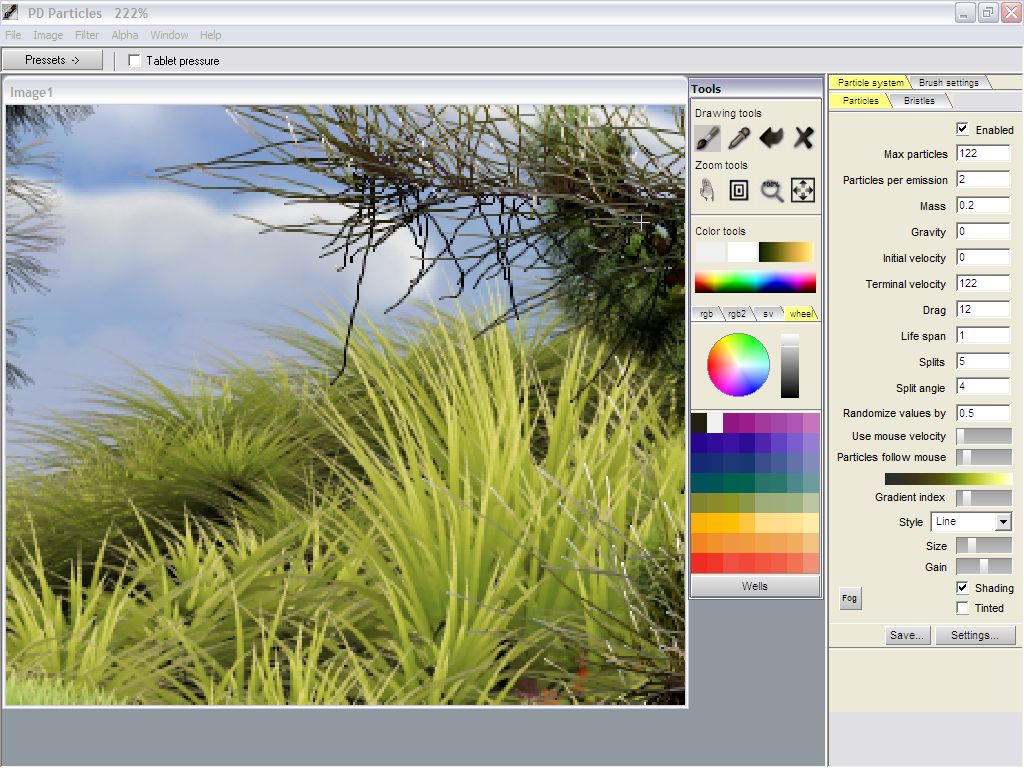
Using the viewing tools
Click and drag the hand icon in the Zoom tools group. It lets you move
the image to center on an area of interest.
Click and drag the nested boxes, i.e. the zoom tool. That will let you
focus on a small detail.
|

|
You can also avoid
the round trip to and from the tools panel by using the Control-Shift
keyboard shortcuts. Press and hold the Control and the Shift keys at
the same time, and start draging with the left mouse button to move
around, or with the right mouse button to zoom in and out.
The 100% button shows the image at its real pixel size. If it is too
big to fit on screen, then parts of it will not be visible.
The 4th icon in the Zoom tools (the right-most one) fits the image to
the window. That way you can see the whole image if it is a large image.
This completes the creative part. In the next part we'll explore some
of the many ways to use the image with other programs such as image
editors, viewers, 3D programs, etc...
|
|
|