

| More Tutorials PD Particles Project Dogwaffle TheBest3D.com |
 |
Particle brush:
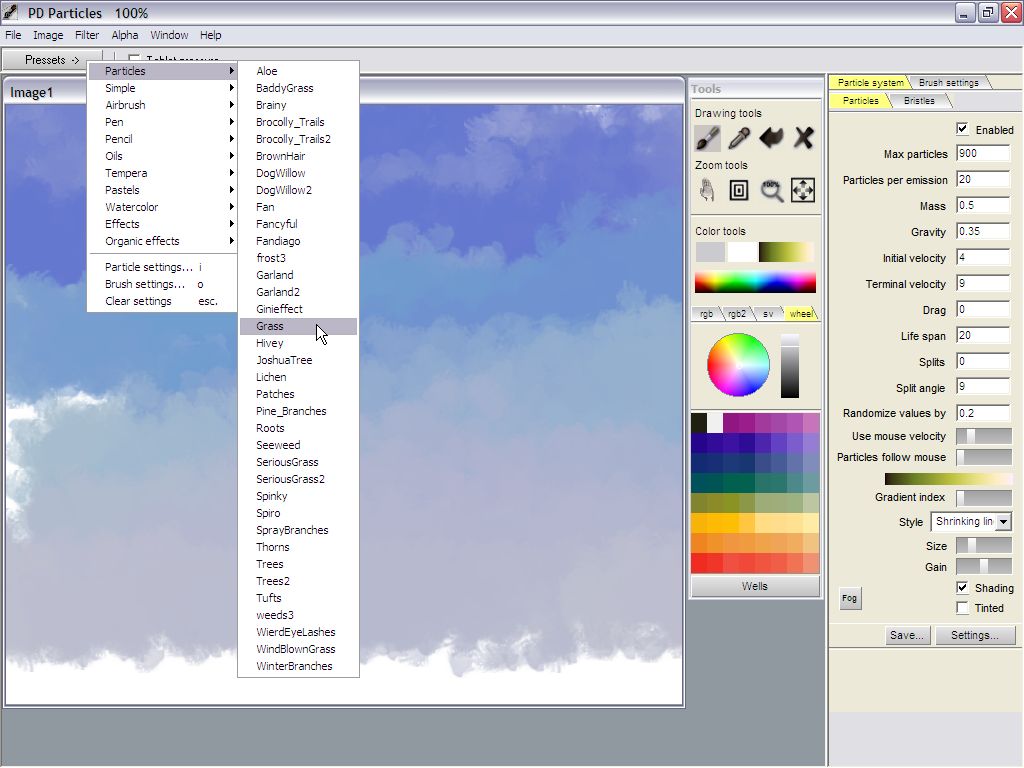
Grass Now click the Presets, and select the Grass preset from the Particles preset collection. Notice when you select a new setting, different from the current one, that some of the parameters in the Particles panel will change. Particles are controlled by a number of these parameters, such as gravity, lifespan, splits and color gradient, to name just a few. There are also several 'Styles' of particles: Lines, Lines with Alpha, Brush, Shrinking Lines... Shrinking lines start wide and shrink to thin. You can set the initial width with the Size slider. |
|
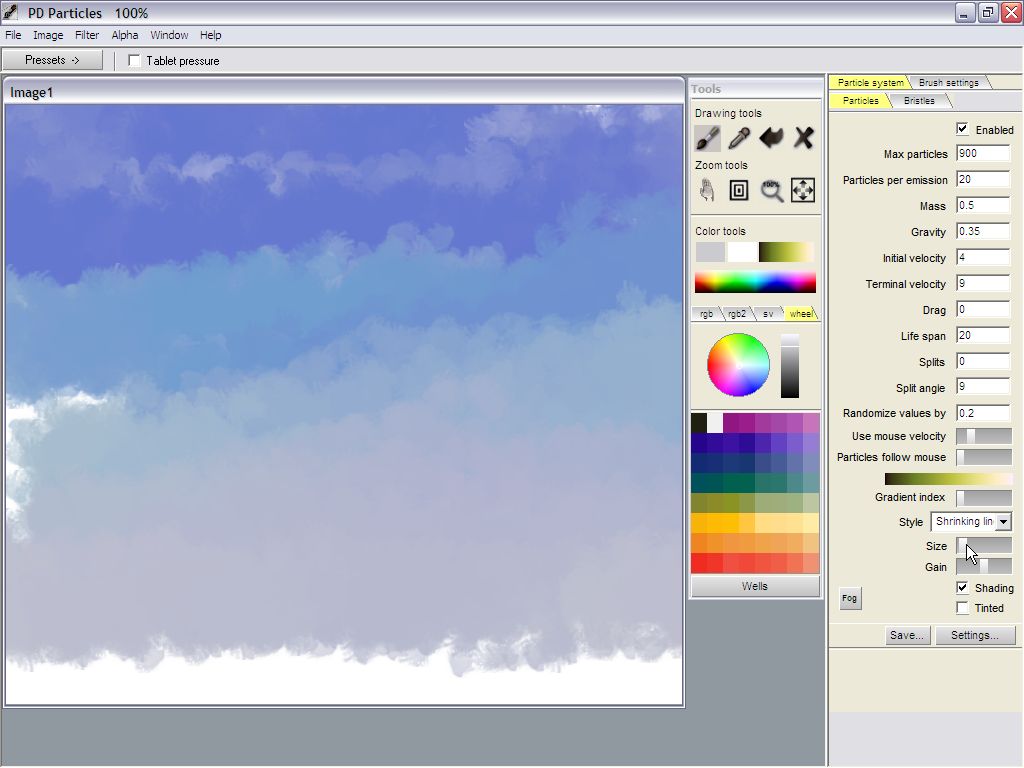 |
Notice that Grass uses the
Shrinking Lines Style, with a fairly high value for the Size (for thick
grass helms). Reduce the Size value close to the minimum or change the style to Lines. |
|
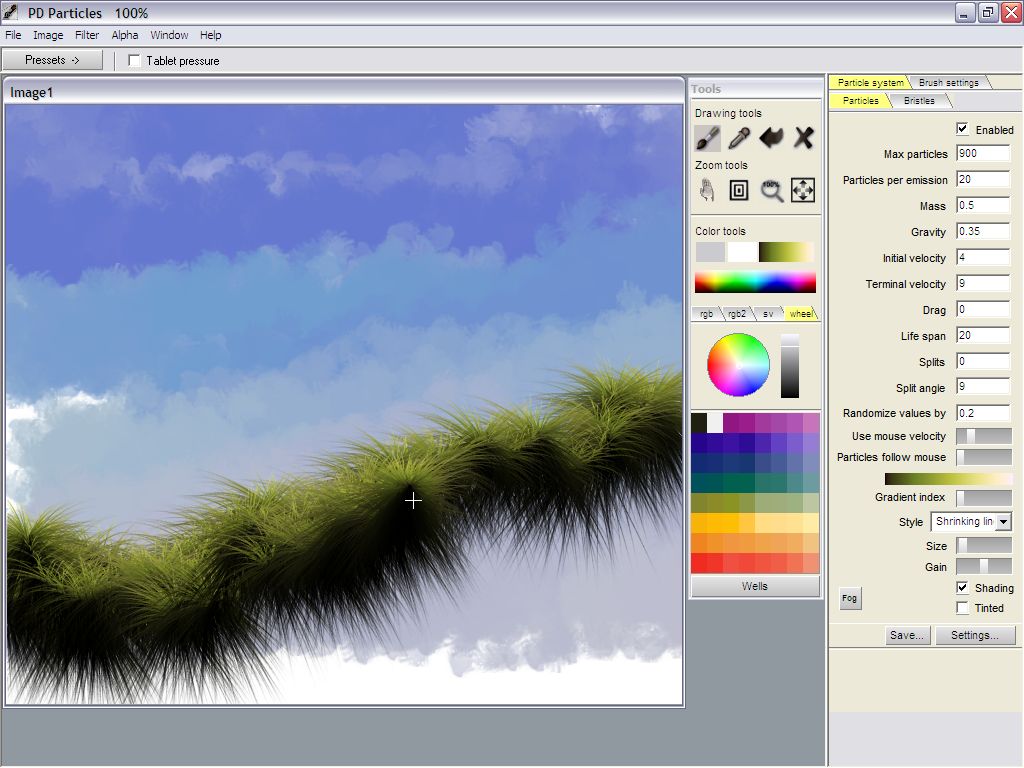 |
Now just drag the mouse
with the left mouse button down from left to right across the sky. PD
Particles will generate particles that look like thick tufts of grass.
You can dabble a little left and right for some variations. Notice how the grass shoots in all directions: it grows out of the cursor. The grass which grows downward appears shaded dark. That's because the 'Shaded' checkbox is enabled. If you uncheck it, then the particles retain their color no matter which way they grow. |
|
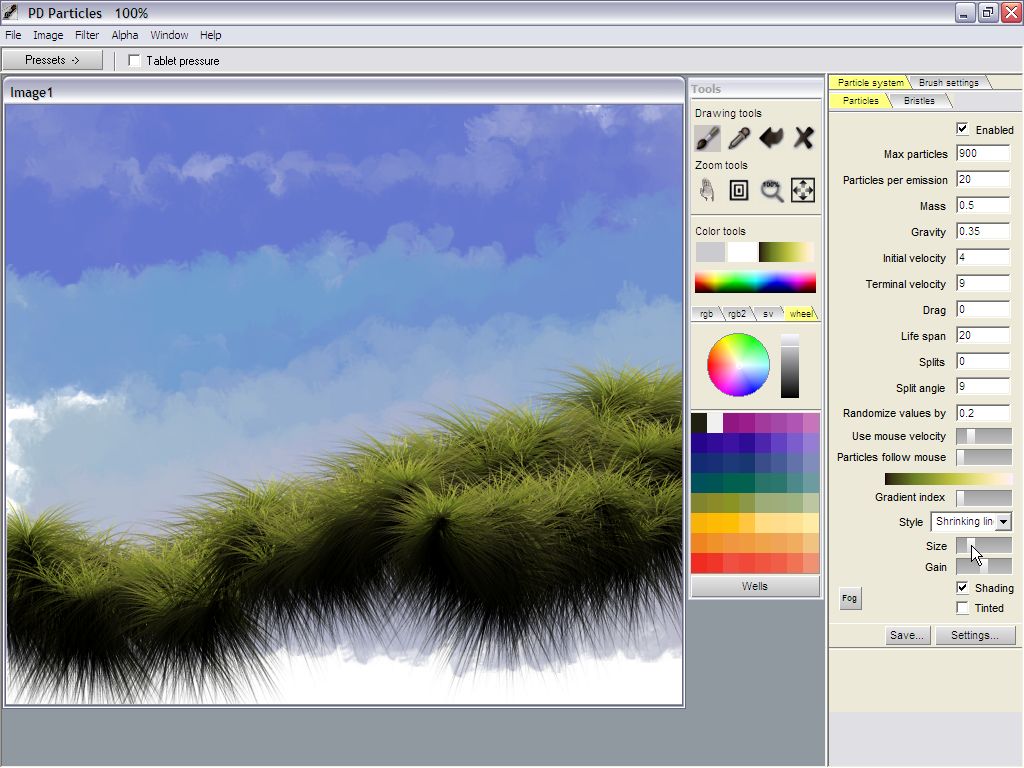 |
Next, draw a few more dabs
of grass lower and 'in front' of the first round. |
|
 |
You can repeat this and
gradually increase the 'Size' value in order to make the grass appear
closer. Other parameters to try are the Lifespan, the number of particles, and 'Use mouse velocity'. |
|
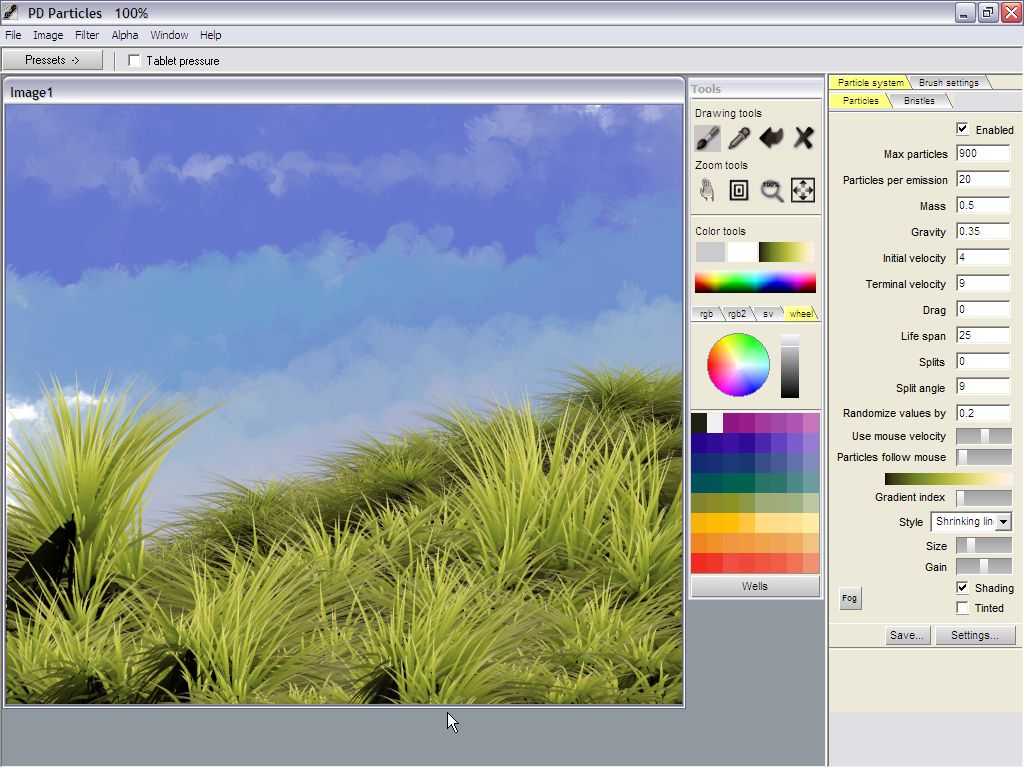 |
Using the mouse velocity
means that the speed at which the particles shoot out and grow to their
final length varies with the speed at which you move the mouse. If you yank the mouse out of the wrist with a sudden jerking motion, you'll get some big tufts of grass to grow tall. |
|
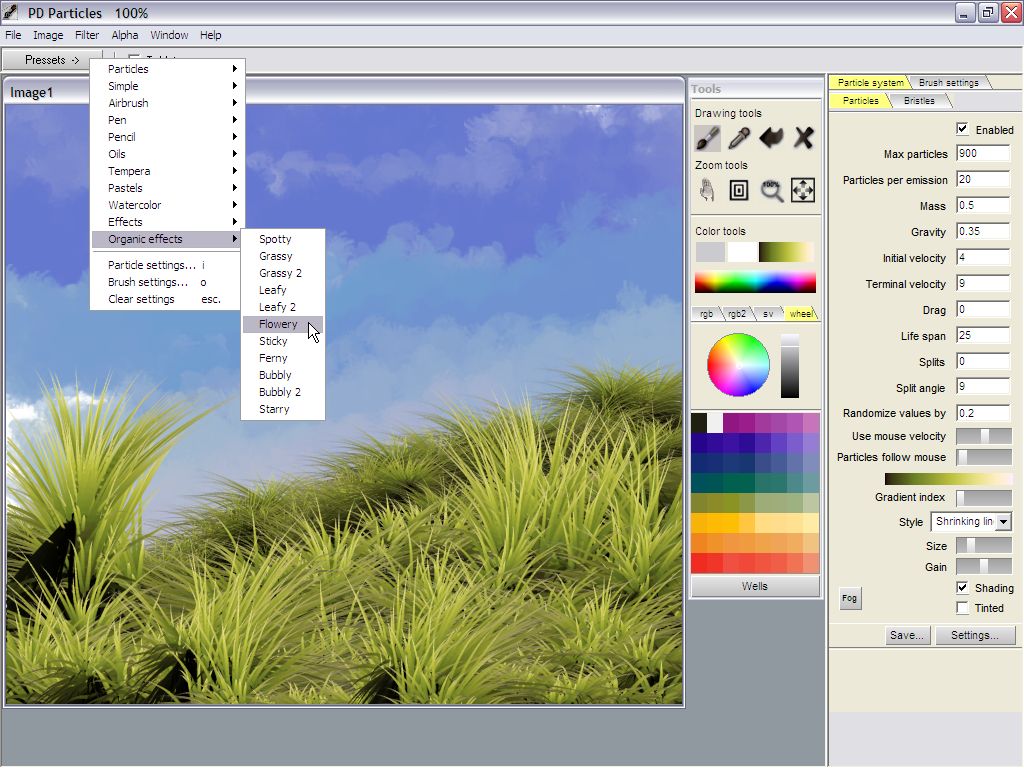 |
Now we might want to
sprinkle a few flowers across the bed of grass. One way to get this
accomplished is with the Organic effects brush named 'Flowery'.
|
|
 |
Choose the desired color. You may find that the flowers are small when drawing slowly, but get larger when painting in faster brush strokes. Indeed this is an example of a brush has a parameter set to change the size of the brush image with the speed at which it moves. The size can be made to increase with the speed, or decrease with it. For example, a drippy pen would grow larger when slowing down, as the ink infiltrates the paper when slowing down. The flowery brush does the opposite: painting in fast strokes deposits larger flowers. |
|
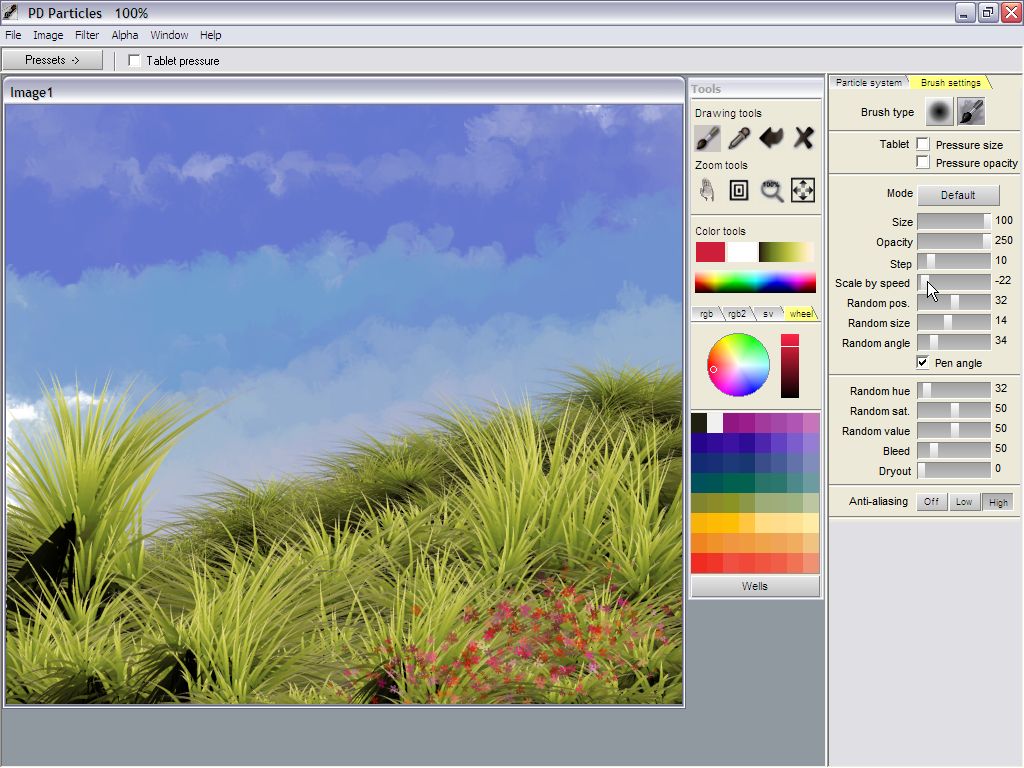 |
Click the Brush settings
tab. In addition to the 'Scale by Speed' value, you may also notice some random values: Random position for a more natural distribution of the flowers Random size to make sure they don't appear all at the same size Random hue, saturation and value helps in slightly changing the color and brightness, again to make sure that the flowers don't all appear as copy-cats of eachother. This can give a more natural appearance. |
|
 |
Apply a few more flowers,
perhaps with a different base color. In the next segment we'll focus on adding some storm clouds. Note that there are many tutorials on this subject in the Project Dogwaffle tutorials section, some of which you can use as inspiration for techniques to try with PD Particles too. |
part 1 - part 2 - part 3 - part 4