

Teddy
Bear
turn an image into a 3D model... in a few minutes
turn an image into a 3D model... in a few minutes
| free!
teddybear model in Wavefront OBJ and DirectX .x format with supporting texture file: teddybear.zip size: 3.17 MB (3,331,152 bytes) |
Resetting the View
If you like PD Particles then you'll LOVE
PD Pro see what's new in v3.5 and free update patches even better, check: what's new in v4.1? |
| Getting
started with Digital Painting on a slim budget:  PD Artist now $29! Draw, Sketch, Animate & Paint powered by Project Dogwaffle |
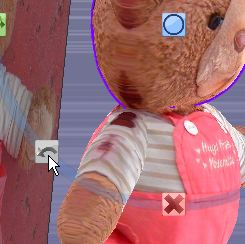
 Click
the blue circle in the middle of the manipulator widget. This will
re-align the viewing direction so that we are looking in the same
direcgtion as we were when we drew the shape or traced the outline
initially.
Click
the blue circle in the middle of the manipulator widget. This will
re-align the viewing direction so that we are looking in the same
direcgtion as we were when we drew the shape or traced the outline
initially.Adding some depth along Z
 The
right-most icon in the manipular lets you add some extrusion depth
The
right-most icon in the manipular lets you add some extrusion depthUndo
| Bryce
5.5 BOXED! Original price: $89.95  |
There's also an undo icon in the lower left of the manipulator.
More Transforms, Shifting, Squeezing...

You can shift the shape sideways and up/down
|
Digital
Painting has never been
so much fun: Learn to paint with Particle Brushes!  PD
Particles - $19
A fun companion for your digital photo image editor! powered by Project Dogwaffle  |

Or also shift it in and out along the Z axis. You can also squeeze it flat.

It will take just a few seconds or minutes to adjust and shape our teddy.
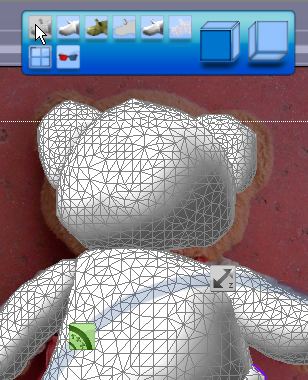
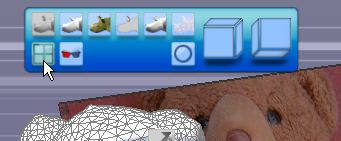
Viewing Modes
In the top tool panel (the view panel), you get to switch between various viewing modes.
Here's a mode which shows the density of the triangle mesh created by Archipelis. You can actually adjust that.
| Great
& affordable Animation Tools 2D + 3D Software at lowest prices! Carrara - Bryce - Poser - Anime Studio - Manga Studio and more |
Merging the parts
Here's a low resolution mesh. Notice that we have merged the various body parts into a single object.
To merge objects which overlap, hit the SPACEBAR

 |
Time
for a Break! Halo 2 for PC |

Need more detail in the mesh after merging?
No problem, use the menu "Quality of merge"
Careful, this can significantly increase memory usage and time to process. Go in small, easy steps especially if your PC is no super computer :-)

Here's a much finer mesh. Great for editing in illustrations, but probably useless for interactive games. If you plan on using your models in Second Life or other 3D games, be sure to use low res meshes. The detail will come from the texture instead, and from using bump maps as well.
Windows
XP on Sale at Purplus! not the latest, still one of the greatest, and now so affordable! |

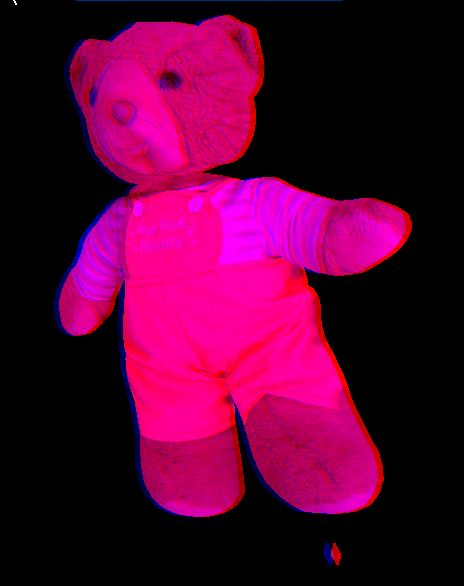
Here's a cartoon mode
| a great companion to
Project Dogwaffle: AnimeStudio Pro is on sale!  Regular price:
$199.95
>> free shipping available in the US! |
 < click to enlarge
Other viewing options: 4 views
You can then in fact load a different image into the other views. This is particularly useful if you create a model from 2 or more views, such as a front and side view of a head.

We'll do a separate tutorial on this later.