

You're now getting ready to create a new animation over which the previous base animation of waving shrubbery will be rendered several times, at different colors, sizes, opacity levels and positions.
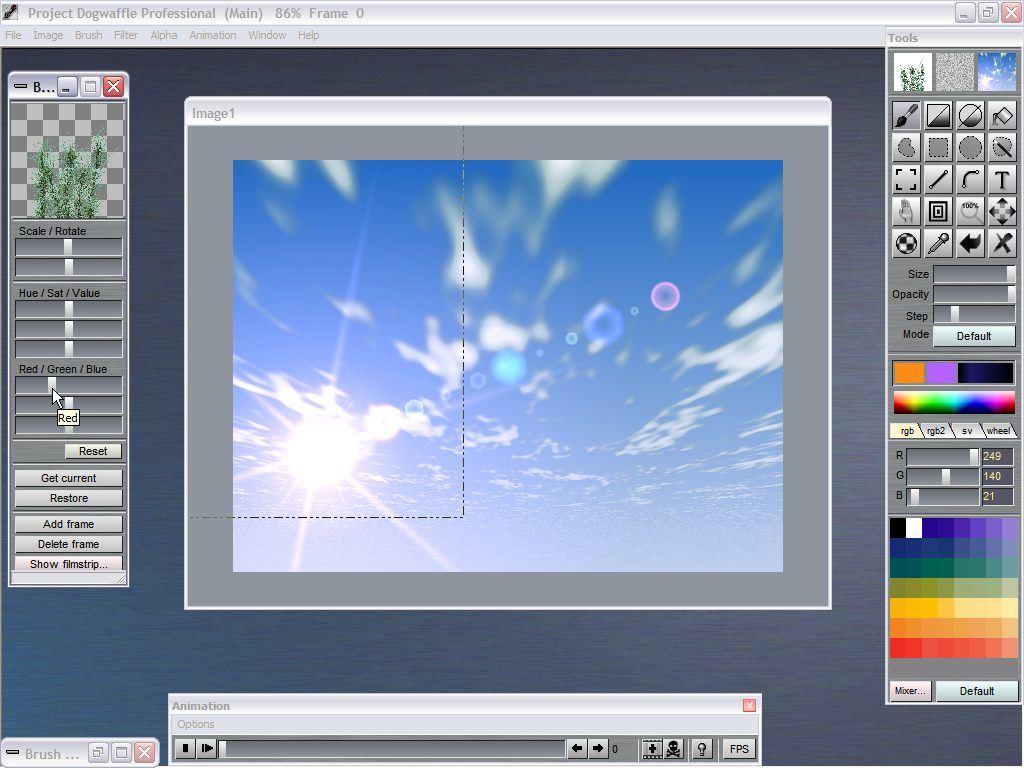
You can start from a blank image or with an existing image as the background, perhaps from a nice sunset photo. You can load the image you want as the starting image. Or you can create a background image with various filters, or paint it from scratch.
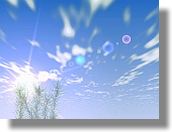
In this example we used the Sky filter from the Filter>Render... menu, and also applied some glow and lens flares for the bright Sun.
^ click to enlarge the image
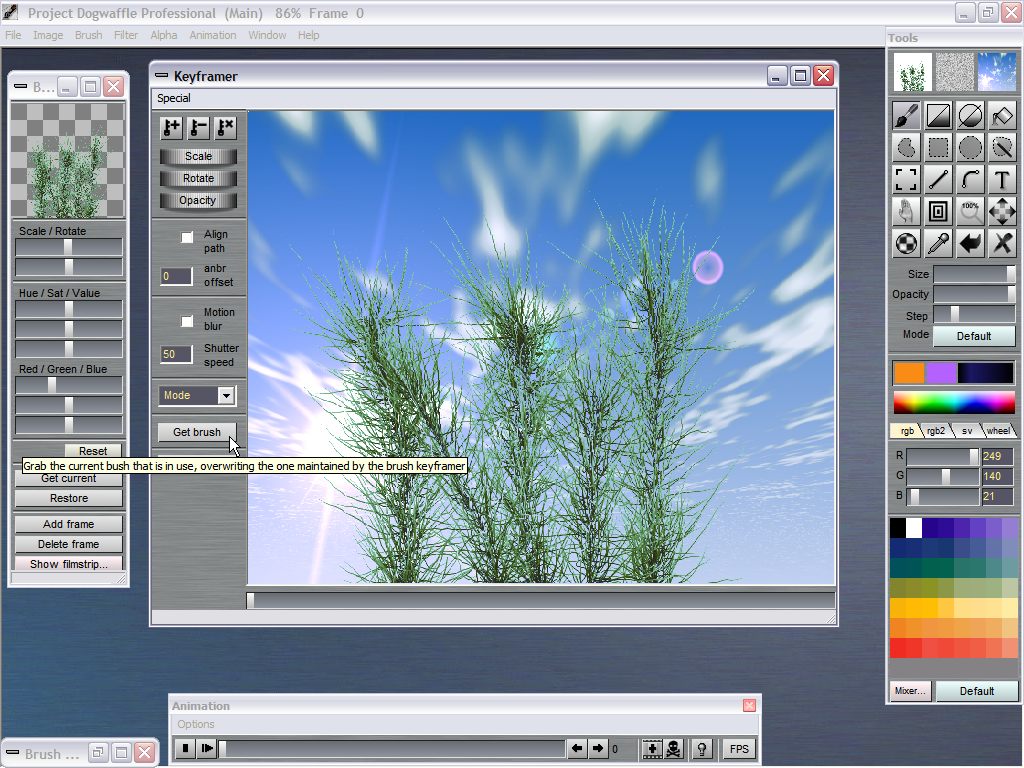
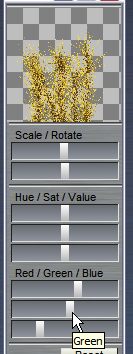
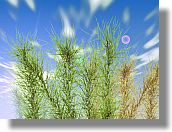
The base animation of the swaying shrubbery (created in the prior parts of this tutorial) is loaded and ready in a stored custom brush. It has about 36 frames. Notice how the brush manager lets you change the appearance of the custom brush. By reducing the amount of red, it will get a greener tint.
The background image was turned into an animation of 99 frames as usual by the menu: Animation>Create...
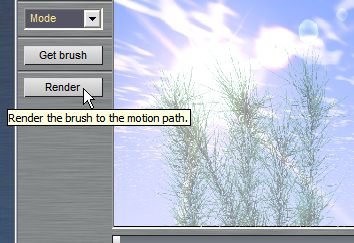
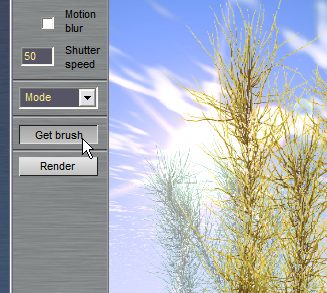
Click the 'Get Brush' button.
The currently loaded custom brush will appear in the middle of the brush keyframer window. Drag the mouse in the window to reposition it where desired.
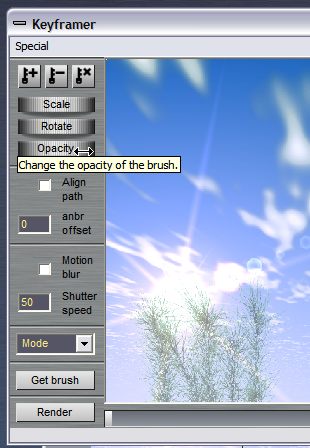
The rotating dials to the upper left can be used to change the angular orientation, opacity and size of the brush image.
^ click to enlarge the image
Reduce the size to make it smaller, and position it down left. Also, reduce the opacity a little to make it fade a little with the background colors. This may make it look like it's farther away and fading in the atmospheric distance.
Finally, Render the brush over the background animation.
The Animation so far:
For the next rendering pass, change the color of the stored custom brush. For example, give it more red, less blue.
Then click the "Get Brush" button again in the brush keyframer.
Position the new shrubbery animation slightly off, keep it larger and more opaque. That will make it appear to be closer.
The Animation now: