

Alpha Skills
Lesson 2
Selecting multiple areas (with Shift key)
- part 1 - part 2 - part 3 - part 4
more:

| Very
Affordable 2D + 3D Software Animation Tools at lowest prices! Poser - Anime Studio - Carrara - Manga Studio - Bryce and much more from Purplus |
| Welcome to lesson 2. In
this tutorial we'll see
how to select multiple areas. In this particular case, we'll have a few
concentric circles or ovals, and we'll only want to select some of
them. Using the magic wand or other selection tools together with the
Shift key pressed down can be used to select multiple regions, one by
one, to be added to the resulting selection. Let's in fact first see how to draw concentric ovals. An please don't worry too much about them being perfect circles or perfectly concentric oval. What matters is that you have a few items of different colors, side by side or overlapping, whatever. Heck you could even work in monochrome, such as a set of black shapes against white background. The key is to find a few distinct shapes or regions that are not connected to others and thus easily selected with the magic wand. Here are some examples that might work: 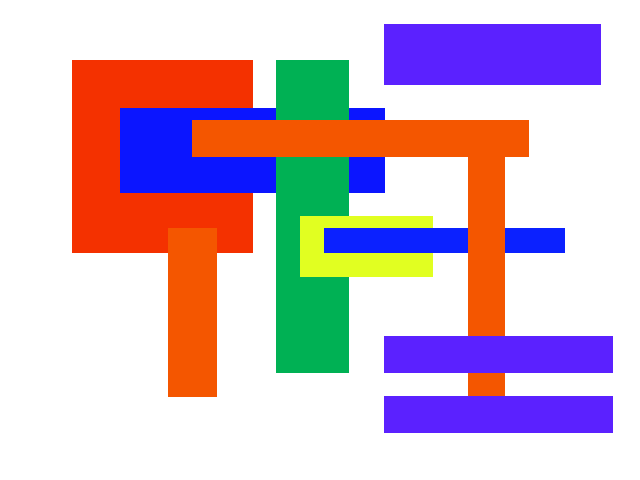  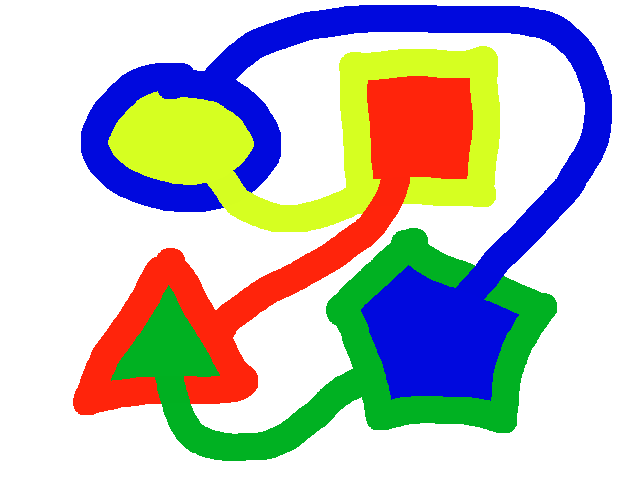  click the thumbnails to view the larger versions and save those if you wish to use them. But, perhaps you'll want to do the exact same thing as shown in this tutorial - so let's get creative and draw a bunch of concentric ovals. Drawing Concentric Ovals If it matters that the circles or ovals be perfectly centered and concentric, I recommend using the Display settings controls to lock the clicks on a grid.  Select the 'Display settings' option from the Window menu. This panel also offers some artist guides. For now, we'll however only look at using the Visible grid and the Drawing grid.  Click the checkbox for the Visible grid to see it, and the Drawing grid to lock onto it while drawing. The drawing grid is essentially a snapping magnet grid which will drive the brush to the grid's lines while you draw. Adjust the horizontal and vertical spacing to your liking. Next, you can use any drawing tool. For example, select the filled oval tool.  Note that there's two parts in the Oval tool. The icon shows a hollow oval in the upper-left area, and a filled oval in the lower-right. Be sure to click the lower-right area of the icon. That will ensure that you'll be drawing filled ovals. Draw your filled ovals, starting from the biggest with a blue color to the smallest in yellow. The filled oval tool asks that you click and drag from the point that you want to choose as the center. Just click near the same point each time so that the ovals end up being concentric.  |