from
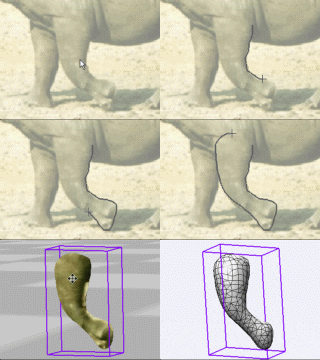
2D to 3D in just seconds!
Just trace
an
outline and see it automagically
turn into
fully textured 3D shapes for Second Life, Google Sketchup / Google
Earth, Direct X & Games, Wavefront OBJ and other popular 3D file
formats!
Archipelis
Designer
rapid
3D model creation and prototyping from mere images - for 3D content
creation, games, IM Avatars, SL models, 3D illustration in Photoshop(R)
and more
New!
now also for Mac!
|
Finally! 3D for everyone:
Carrara
(boxed)
free shipping for
orders $50 and up! (US only)
Hurry before
they're gone - this is a limited inventory blowout sale
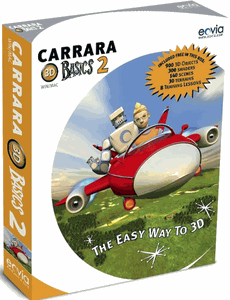
around $17
Carrara
3D Basics:
so
affordable!

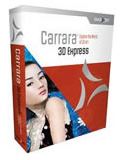
around $40-$50
Carrara
3D Express:
wow!

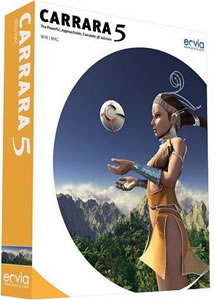
around $50-$60
Carrara
5 Standard:
best
value!

just around $100
Carrara
5 Pro:
be a 3D Pro now!

|
|
However, in our little exercise here, we want to separate the green and
the blue parts. Therefore, use the magic wand again, this time starting
(without SHIFT) on the blue parts of the top text (Ping).

Make sure also to Shift-click the dot on the 'i'
Then Shift click the blue parts of the bottom string, Pong.

And this time also make sure to shift-click the variouis blue islands,
such as the inner part of the 'o', the inner part of 'p', and both
ovals in the 'g'
Just like before after picking up the green elements in this matter,
use
menu: Brush > Use selected as brush
to pick it up into a new custom brush, and
menu: brush > Store & manage...
Now we have two stored brushes of separate colors: the green one we
selcted first, and the blue one we just selected now.

Now you can use these two custom brushes for many different
compisitions. For example, change the Scale slider down in the stored
brush manager, and in the case of the green brush also rotate the image
until it appears at a 90-degree angle.
You can then easily stamp down the two respective brushes in various
places:

Another thing you might want to do is to stamp down one, such as the
blue first, and then 'adding' the green one, perfectly lined up to
reconstruct the original blue-green set.
Start by stamping down the blue one: select the stored blue brush, and
click on the empty image buffer to place it there.

Now that the blue image is in the main image buffer, use the layer
system to get ready with a new layer and add the other.
Or, even faster, just switch to the alternate image buffer which always
exists: the Swap buffer.
Use 'j' to jump to the swap buffer, or use:
menu: Image > Swap buffers
(menu: Buffer > Swap buffers in earlier versions of PD
Pro)

Now pick up the other (green) brush and stamp it down, into the swap
buffer.

Finally, enable swap mixing, so that both image buffers can be seen at
the same time: click the upper-right-most large thumbnail in the tools
panel, or right-click that same thumbnail to see the menu of buffer
mixing features, and select Swap Mixing.


Both images are now visible,
both the
green and the blue logo parts. Where they overlap, a multiplication of
the colors occurrs, showing a different color.
You're now going to transform one of the image buffers so as to line it
up with the other. But before that, and for more precision, you might
also want to increase the zoom factor. Click and drag the zoom icon.

Then select the Shift filter from the Transform filters group:
menu: Filter > Transform >
Shift...

Use the Hand icon in the Shift tool panel. Click and drag it to start
shifting the position of the current image buffer's content.

You can then easily line up the features, such as the oval inside the
'g' or 'o' in gold, and others.
As expected and mentioned earlier, there may be a slight white gap left
even when perfectly lined up. That's due to the anti-aliasing which was
present when originally drawing the text elements.
Here's an example of what the resulting lineup might look like:

|
|
Inventory Blowout
Sale:

Poser 6 (boxed!) at
lowest prices:
for MacOs
or Windows
|
|

