Also supports
3D Layers:
After you're done
with sculpting
and modeling,
take your art
to the next level:

The perfect marriage:
|
Can't afford
PD Artist at $19?

Someone
else is willing to pay for your copy of PD Artist, if you buy
something from them first - and there are many products and services to
choose from!
|
Finally! 3D for everyone:
Carrara
(boxed)
free shipping for
orders $50 and up! (US only)
Hurry before
they're gone - this is a limited inventory blowout sale
around $17
Carrara
3D Basics:
so
affordable!

around $40-$50
Carrara
3D Express:
wow!

around $50-$60
Carrara
5 Standard:
best
value!

just around $100
Carrara
5 Pro:
be a 3D Pro now!

|
|
Part 2:
Planning and Laying
out the Bones
The next step is where we draw a bunch of bones all over and across the
leg, typically from its 'anchor' point by the hip, down through the
knee, into the heel and to the toe.
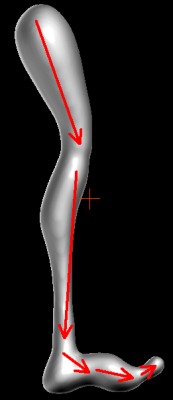
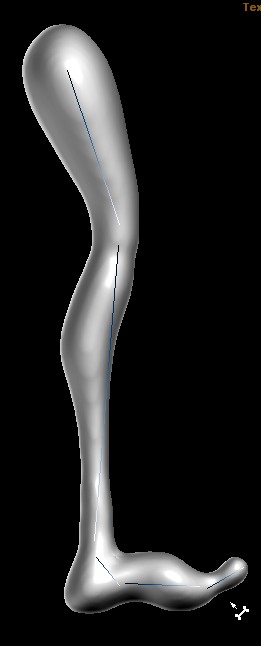
Here's roughly what we'll draw. One bone from the top to the knee. The
second bone from below the knee to the ankle above the foot, then
another into the foot, etc... all the way to the toe.
In fact you could make it much simpler. But this will help if we want
more detailed posing controls.
Here we go:
 |
Click the Bone
object (B) in the tools collection. Click the Lathe tool and drag down
to select the Bone tool. |
 |
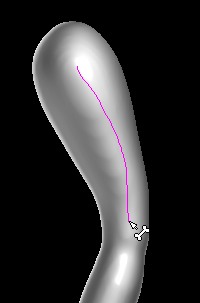
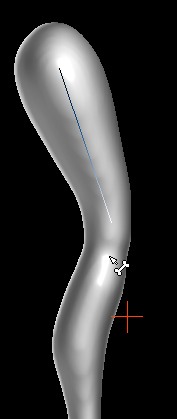
Move the cursor into
the top of the leg and start drawing down.
|
 |
Stop right above the
knee. Don't worry if the drawn line is not a perfectly straight line.
It doesn't matter. This is not the bone, just a way to tell the system
where the bone starts and where it ends.
Release the button.
|
 |
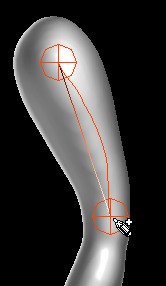
As soon as you
release the tablet or mouse button, a straight line is show, with a
color gradient from orange at the start to white at the end. That is
the bone.
If you hit SPACEBAR, you're done with this bone.
However, let's draw one or two more curves...
|
 |
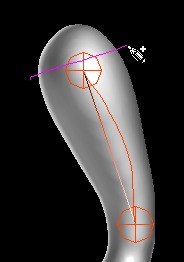
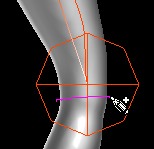
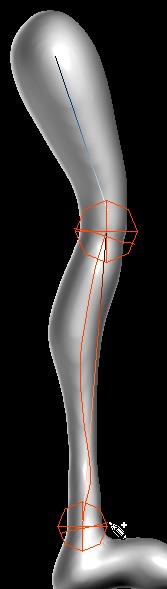
Draw one curve
around the start of the bone, to show the extent of the bone's reach,
i.e. the size (diameter) of the influence sphere.
|
 |
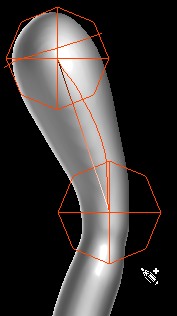
As soon as you've
finished drawing that second curve, you'll see the newly sized spheres
of influence. Both are the same size.
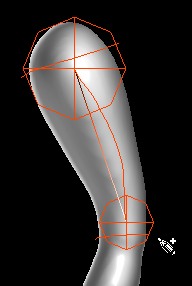
If you want the lower (end) of the bone to show a smaller sphere of
influence, just draw another curve down there.
|
 |
Just liek this. Now
there are two lines controlling the size of the spheres: one at the
top, a second at the bottom.
|
 |
And there it is. Now
the bone has two differently sized spheres of influence, better suited
for the changing size of the leg.
|
 |
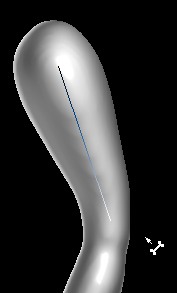
Hits SPACEBAR, and you're done. The bone remains visible, the
construction curves are hidden (but not lost), and so are the spheres.
We can now draw the next bone.
Before we do, let's see where we can see the existence of the bone.
|
 |
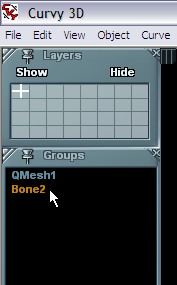
The bone (Bone2 in this case) is now listed in the list of objects on
the left side (in the Groups panel), just below the mesh object QMesh1.
|
 |
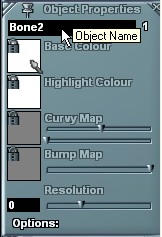
The Object
Properties panel on the right side shows the name of the bone
object as Bone2 in this case.
Click the name to rename it.
|
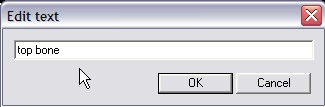
Enter a more
descriptive name for this bone. Such as top bone.
 |
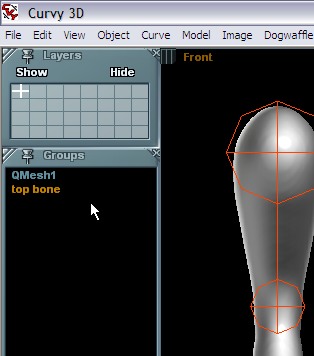
Now the bone's new name is showing in the Groups, as expected.
 |
 |
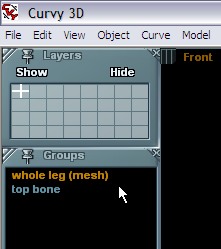
While we're at it, we should also rename the leg from its cryptic name
(QMesh2) to something more descriptive, like whole leg (mesh)
I've added (mesh) in the name just to remind me that this is a mesh
object.
|
 |
It's time now for the next bone. Start drawing the second bone just
below the knee.
|
 |
Draw the line towards the ankle.
|
 |
Release the mouse or tablet button and optionally again draw the sizes
of the spheres at either end.
|
 |
And so on and so
forth, now you know the drill. Draw all desired bones into the leg in
this way.
|
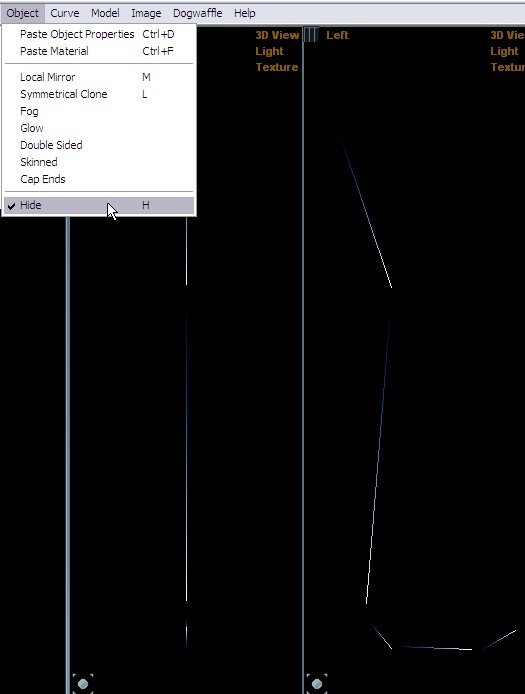
In the Object menu, find the Hide menu item, or hit "H" to temporarily
hide the mesh object if you want to only see the bones.
 |
|
|
Step 3: Skinning the object...
|
|
Other 3D tools:
HOT!
Archipelis Designer
3D sculpting
on the iPad
on iPhonetoo!
|
|